Thursday, October 1, 2015

Lovely Snowflake and Noel Fri-Dies


Hi Folks! Well I hope there's no such thing as too much glitter! In this case, I did just spray the entire card with glue and then dump a bottle of chunky glitter on top. Although it's quite something to see in person it does get tricky to photograph : )

This is from a CAS-ual Fridays set called Lovely Snowflakes which will be released on Saturday, October 3rd along with the rest of the sets you've seen this week. 


I really like this sentiment, as it could be used for holiday and non-holiday cards. Plus it goes so well with the gorgeous snowflake, because, let's face it, what's lighter than a snowflake?!

Check out the rest of the Ink Squad to see more awesome projects with these stamps:

  
Thanks for looking, and I'll see you tomorrow with more release goodies!
-Kelly

Wednesday, September 30, 2015

Festival of Lights and Festival Fri-Dies


Hi folks! It's so great to have more options for sending Hanukkah greetings. The new Festival of Lights set from CAS-ual Fridays includes this wonderful, bold sentiment that easily takes the focus on a card. How cool is the "happy" right in the middle of "hanukkah"! The triple line stamp is also fun to fill up a card, especially in rainbow colors. I added some flames to break up the lines a little.

Settle in, because you're going to see this stamp another three more times! It's that good : )


This is the card I started out with. Easiest card ever! Such a great candidate for mass production since you just cut some patterned paper and ink up one stamp. Not everything has to be rocket science, right?! Just because it's easy doesn't mean it can't look sharp and trendy.


What's better than one rainbow card? Two rainbow cards! This time the sentiment itself makes the rainbow. I inked up the "happy" part of the stamp separately and stamped it across the middle. 


The thickness of the letters makes for one vibrant card. I don't have a misti so the sentiments aren't lined up exactly, but I think that's perfectly OK. It's handmade after all!


For the last card I ended up making a menorah using sticky notes for masking and the triple line stamp. On the sticky notes I drew little lines at the middle of each letter so I would know where to stamp the triple lines. The base of the menorah is none other than the Bubble Label Fri-die. I just love how it worked out here!

Check out the rest of the Ink Squad to see more awesome projects with these stamps:


Thanks for looking, and I'll see you tomorrow!
-Kelly

Tuesday, September 29, 2015

Autum Blessings and Acorns


Hi folks! It's still been much quieter than I'd like on the blog, but happily the next several days will have a lot of activity as a bunch of new stamps and dies from CAS-ual Fridays will be released! Today's featured set has so many possibilities for Fall with different leaves (including veins and outlines), acorns and sentiments. And there's even a Fri-die set to go with it!


This adorable acorn has a wood grain cap and a nut that corrals a repeated sentiment. Some shading and a gold thread bow finish this little guy. The sentiments in this set are mostly separate so you can mix and match words, AND easily make parts of the sentiment a different color, like the orange "blessings" here. In this case if the whole sentiment was dark brown, you'd miss out on tying the sentiment in with the plaid (red, blue or orange would tie in the plaid).


Don't forget the inside. Damask, or any other tightly repeated pattern, would work nicely against the harvest plaid.


The different ways these solid leaf stamps can be used are numerous. Here I've stamped them on burlap before stamping on the card. The texture that's created from the burlap is easier to see on the brown leaves.


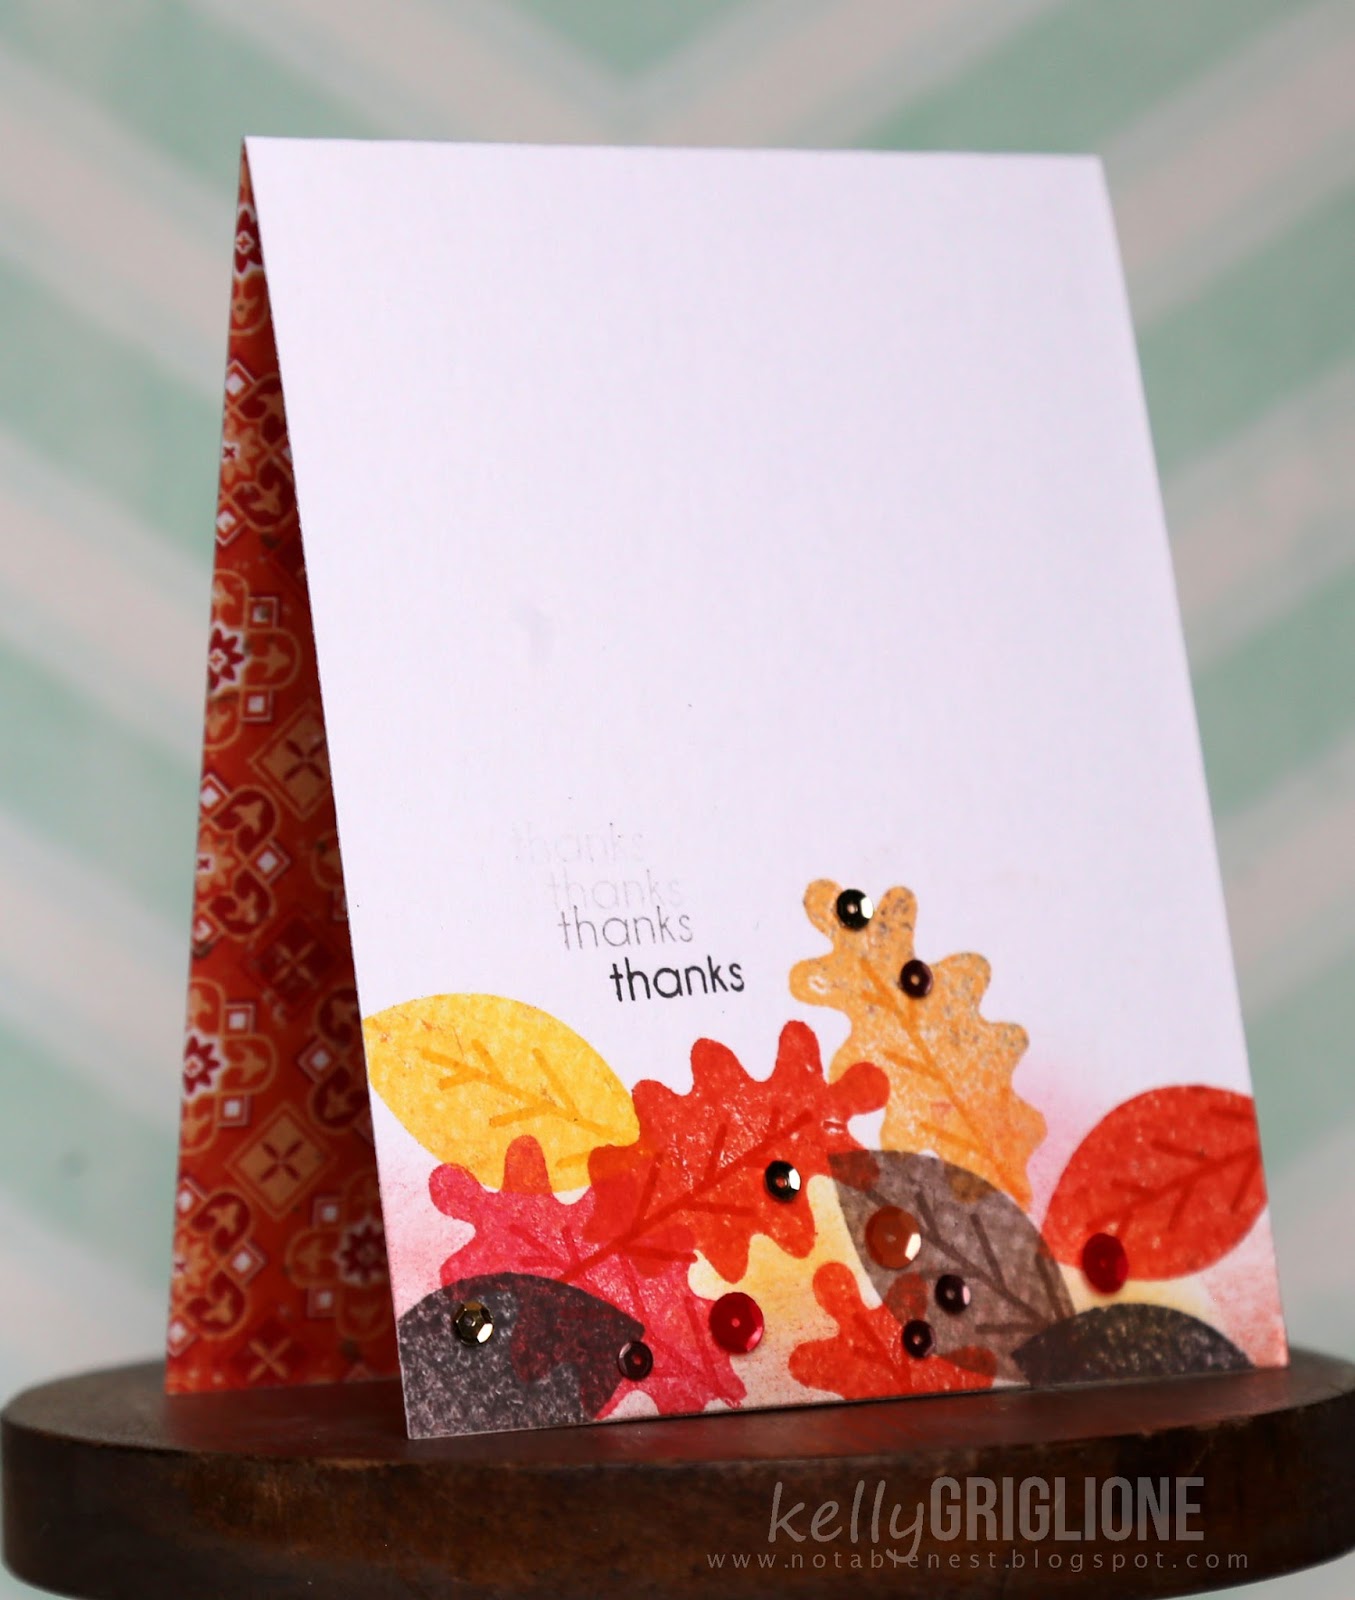
The sentiments in the set are all autumn-themed, but remember, "Thanksgiving" can always be turned into "Thanks" by not inking the rest of the word. The Pretty Pink Posh sequins in different sizes and colors add to the random nature of a fallen leaves pile.

I have to admit, there are many other ideas I had for this set. Stay tuned tomorrow for more new cards, stamps and dies!

Thanks for looking!
-Kelly

Friday, September 18, 2015

Recycling on Winnie & Walter's Blog

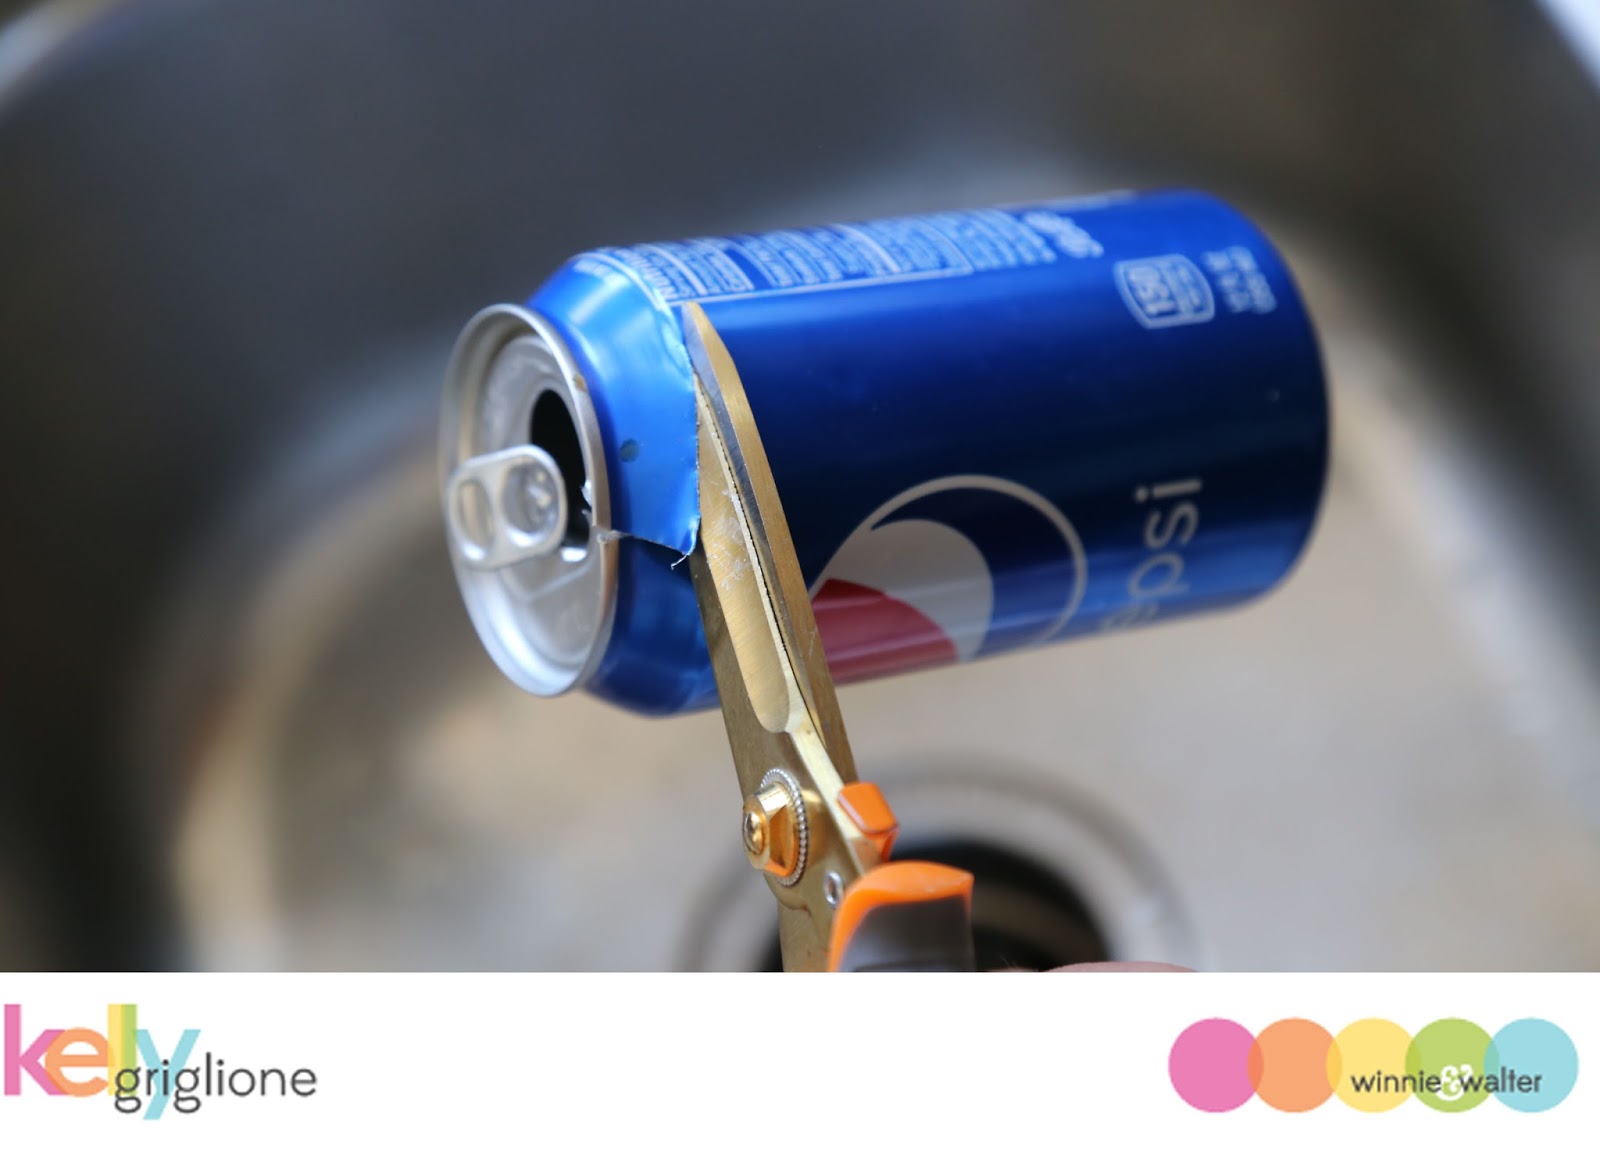
Hi Folks! Don't take your recycling out just yet! Hop over to Winnie & Walter's blog to see a pop can ...


turn into a fun embellishment:

  
What else can you do with a sheet of aluminum?

Thanks so much for looking!
- Kelly

Wednesday, September 16, 2015

Exclusive Big Bloom STAMPtember® Set


Hello everyone! You have likely seen a lot of awesome companies pairing up with  Simon Says Stamp this month to offer exclusive stamp and/or die sets for their STAMPtember® celebration. Well, I am very excited to share the news about Winnie & Walter joining the fun with their own stamp and die set. Let me tell you, I had a blast playing with them!


That big bloom is chock full of possibilities, and if it wasn't for my husband begging me to come spend some time with him I would have been at it for who knows how long!


First up is a one-layer stamped card, with some vintage seam binding tape sewn on the bottom.


After stamping the flower outline in navy, I "colored" the petals fuchsia with the round "enjoy" stamp that is meant for the center. It doesn't completely fill the petals, and sometimes it goes outside the lines, but I think it has more of an artsy look that way. Continuing with the artsy look, I scribbled in the outer layer of petals with a peach Copic marker. Very quick to finish.


Here's a closer look at the vintage seam binding tape. I adhered it to the card with a tape runner and then sewed on top of it for added texture. Since it's the same color as the card base (white) it doesn't distract too much from the big bloom, the focus of the card.


One more project, this one uses the bloom repeatedly down the front of the card.


And, if you didn't notice, it actually IS the front of the card! I thought it would be fun to attach the blooms all together and skip the card front for a little something different. Plus it lets the pretty background show through.


The entire bloom is stamped once on the mint patterned paper, and then a second time on white cardstock. For the white layer I've cut off the outer layer of petals and just used the inner layer. The white petals are curled upwards slightly with my fingers. Gold embossing finishes the look (gold + mint + white + orange = yummm!)


For the middle of the blooms I misted them with water, scrunched them, flattened them out a little and then let them dry. Super easy way to get additional texture and dimension.
 
 
The banner die-cut is from a soon-to-be-released die set (shhh!) and the sentiment is from winnie & walter's Bubble Talk. If you haven't already, be sure to check out the post at Simon Says Stamp for a ton of inspiration and more projects with this set!
  
Thanks for looking!
-Kelly

Thursday, August 27, 2015

Two Sets of Twins and Roller Coasters

I have two sets of twin birthdays today and tomorrow, which makes for a busy time of year for a card-maker! Especially since I have very limited craft time during the summer, I needed to come up with a repeatable design that is somewhat interesting but doesn't take a lot of time. While in the long roller coaster lines with my kids this summer I often pass the time looking at t-shirt designs for inspiration. This summer I saw a lot of partial text designs where you had to take an extra second or two to figure out what it was saying. That intrigued me, and I thought I'd try something similar for a card.

Today I'm over at CAS-ual Fridays with a few versions of my partial text card design. Hope you get a chance to stop by!


Good luck to all those back-to-schoolers!
Kelly

Thursday, August 13, 2015

Moving Update and a CAS-ual Fridays Feature


I'm not sure why I thought once I moved, I'd have all this time to catch up on things. Moving during the summer has turned out to be quite a challenge, as who wants to stay at home unpacking boxes when it's sunny, 80 degrees and your two kids still love to go out on adventures with you? Needless to say, until yesterday afternoon when I knew I had to make a card, this is what my craft room looked like. Just like it did on moving day! I still have a looong way to go, but at least it's functional now, and it's possible to produce something.

Today I've got a card over at the CASual Fridays blog. It uses the tree stamp from Calm and Loving:


Hope you all are having a magical summer! Miss you all : )
-Kelly