Hello!
Welcome to the second to last stop on the new release blog hop for Pinkfresh Studio! I've got two cards to share with you showing different ways to use one of the background cover plates.
You may have just come from Karin's blog, but if not feel free to start at the beginning with Pinkfresh Studio!
Both cards feature these two products:

Grant Yourself Grace Stamp Set

Stitched Diamonds Coverplate Die
Let's take a look!
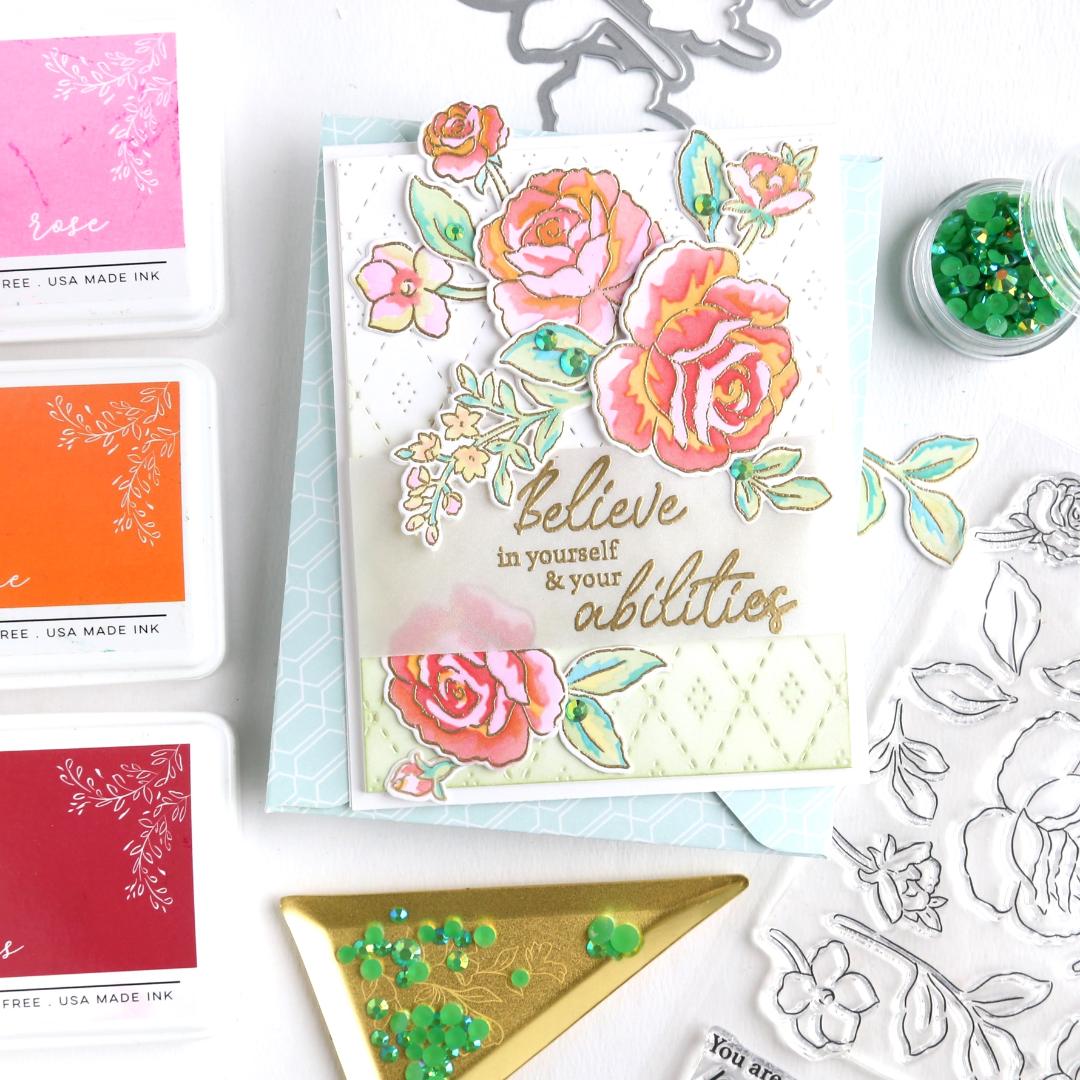
Love love love the new Grant Yourself Grace Stamp Set with the coordinating die and stencil. You might be thinking, well, it's just another pretty floral set with stencils to color.
Nope! This stencil set has been cleverly designed to block off certain areas of the design which will be open on other stencils. This means now you can finally ink two light colors independent of each other! They are not going to be muddied together when you're blending on top of an existing layer.

One way to see what I mean is to look at the orange areas in the flowers above. You'll probably recognize that typically spaces like this would be in a shadow, and we'd naturally colors those areas in a darker red, to be layered upon . In this case however, it's colored in a purely lighter orange, not a color that had to be layered upon.

Here's another great sentiment that's included in this set. I heat embossed it in gold on vellum and wrapped it around the card panel. The top forals/leaves are placed on top of the vellum, and the bottom set underneath.

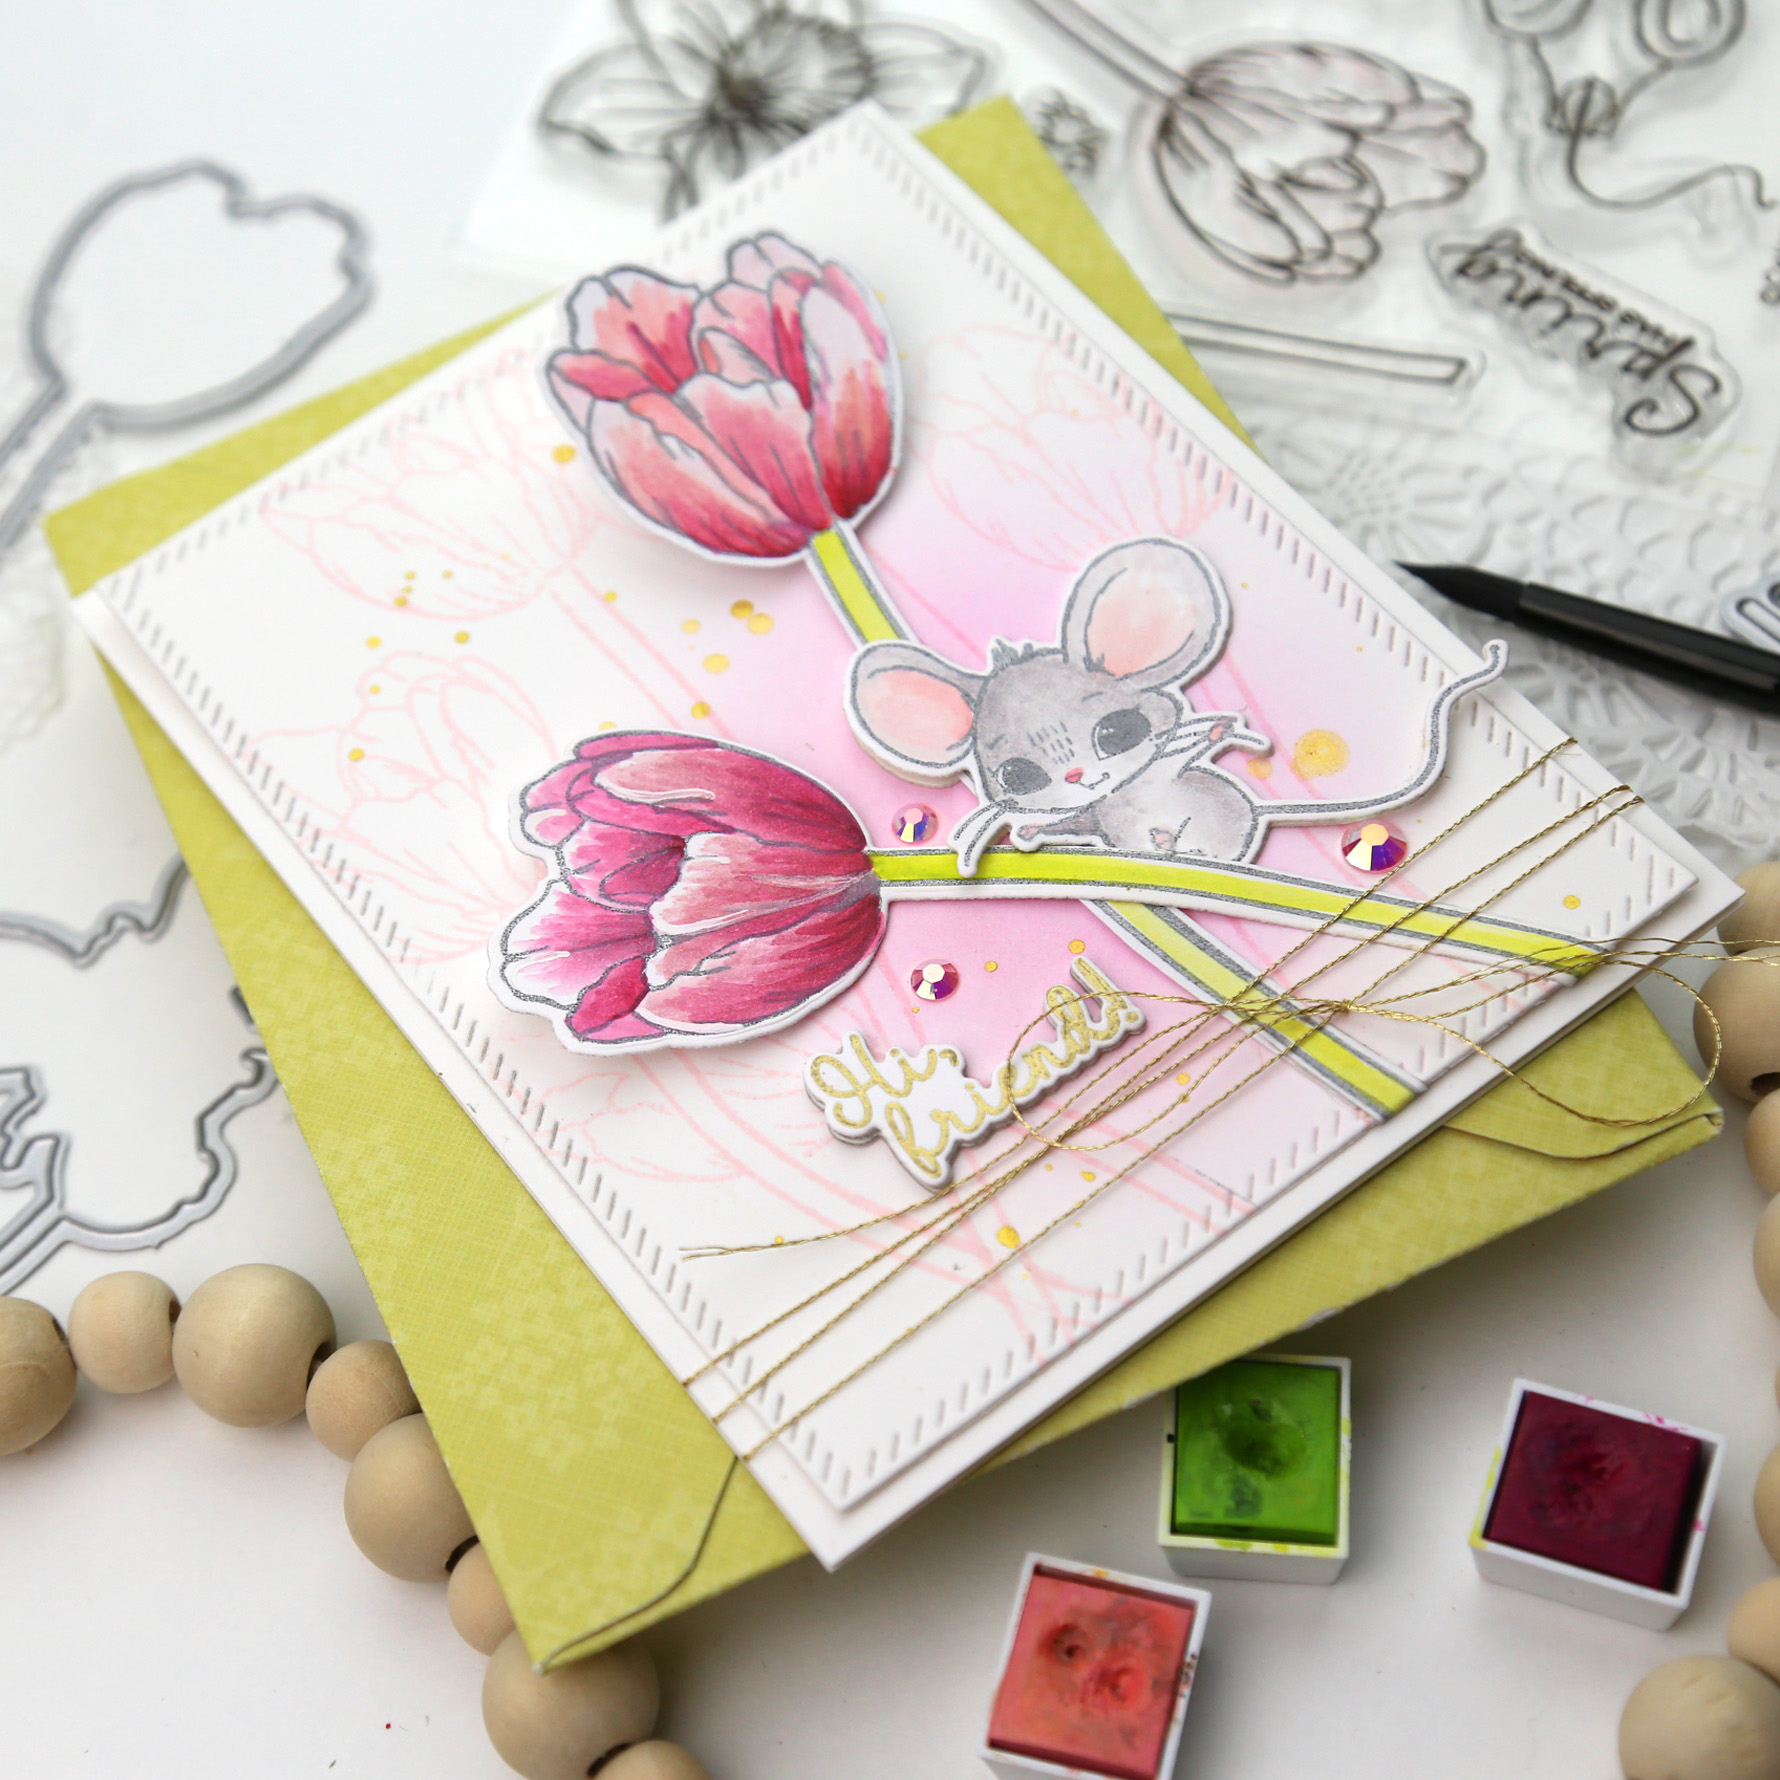
And let's not forget that gorgeous background from the Stitched Diamonds Coverplate Die! Just a simple ink blending on top of all of those dashes soakes the ink right into your panel.
The next card uses the same Stitched Diamonds Coverplate Die.

Instead of leaving the panel plain as a way to add texture like the first card, I blended different colors into the stencil I made, and ended up with 3 different rows of color. You can see the stencil I made on the left with all the red and purple ink. I just cut the stitched diamonds out of one row.

Another difference is this time I used gold thread to stitch around the outline of each diamond. It was so easy to do because the coverplate leaves tiny holes in the point of each design, just right for your needle to go thru.

I love all the added sparkle it gives with the gold!

The flower is from the same Grant Yourself Grace Stamp Set as the first card, I just switched up the colors. Now I have a darker color where it's "supposed to be" in the darker crevices.

The sentiment is a new one from Modern Script Sentiment Hot Foil. As always, after hot foiling the first round of sentiments, I used the full plate to hot foil the negative space, and then die cut those out. Such a great 2-for-1 project!

We will be giving away the full release on the Pinkfresh blog & YouTube channel!! We will also be giving away a total of TEN $25 gift cards, so comment along the hop for more chances to win. The winners will be posted on June 3, 2022 on the GIVEAWAY PAGE, so check back and claim any prize within 2 weeks. GOOD LUCK!!
I'd like to send you now to the blog of the super talented Kelly Taylor, who has some delightful projects to share with you!
Here's the complete list if you need it:
Thanks for stopping by!
-Kelly
Supplies Used (affiliate links used at no additional cost to you, thanks for your support!):
Grant Yourself Grace Stamp Set 
Grant Yourself Grace Dies Set 
Grant Yourself Grace Stencil Set 
Modern Script Sentiment Dies 
Modern Script Sentiment Hot Foil Stitched Diamonds Coverplate Die