Hi Folks! Not sure if you saw my post in the Ellen Hutson CLASSroom this week, but if you haven't I'd encourage you to check it out. It features the new United We Flourish collaboration between Waffle Flower and Ellen Hutson ... in the form of a floral, cross-stitched globe!! Never have I seen anything like this! Stamping is always fun, but you know there are the times where you get a new set and are simply giddy with excitement to see what it's going to look like, right? Well, this is definitely one of those sets. AND, the excitement after you've done all that "cross-stitching" is just as special.
Stitched Together
In the Ellen Hutson post, I've got tons of tips on stamping with this set, including:
- What order to stamp the colors in, and exactly where to line up each color (thru trial and error);
- How to rescue poorly aligned images (don't throw it out!);
- And how to set up your Misti to perfectly stamp all four of the globe colors, so you can easily experiment with all your color combinations ...
It was so addicting!!
Of course I have some completed projects as well. I would love it if you head over to see the full article and let me know what you think!
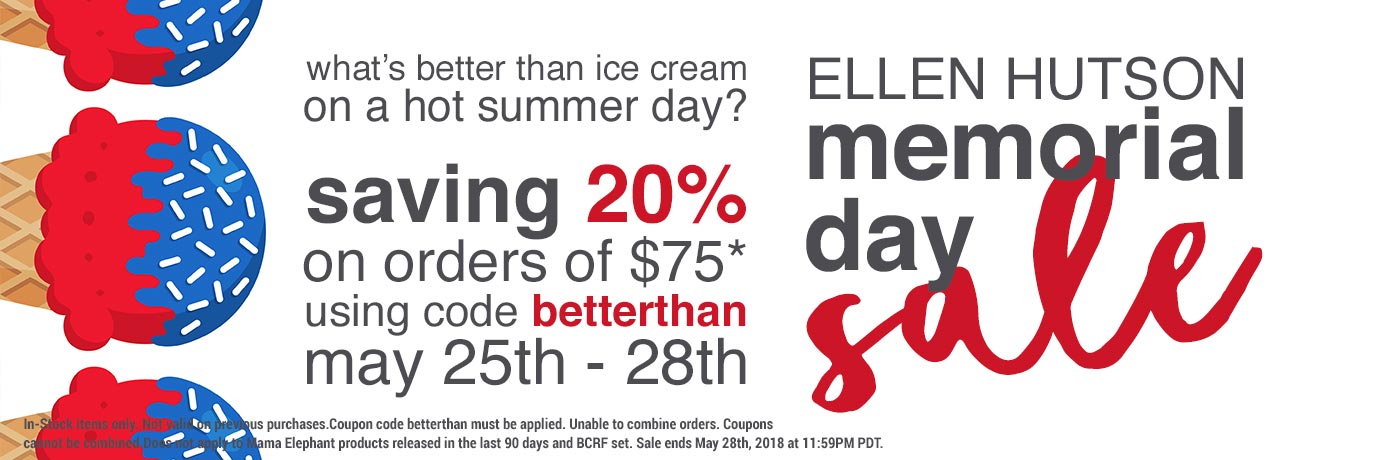
Also if you haven't heard there's a SALE at Ellen Hutson ... 20% off if you $75 order. But it's only through the rest of the day. What's on your list?!
Hi Folks! I am doubly excited to participate in the Winnie & Walter and Chibitronics Blog Hop, being a proud member of both teams. I have to say this wasn't much of a change for me, however, as I usually reach for my Winnie & Walter products when making a Chibitronics card anyway. There are just so many things to light up!
You may have come from Wei Wei Wang's blog, but if not feel free to start at the beginning with the Chibitronics Blog.
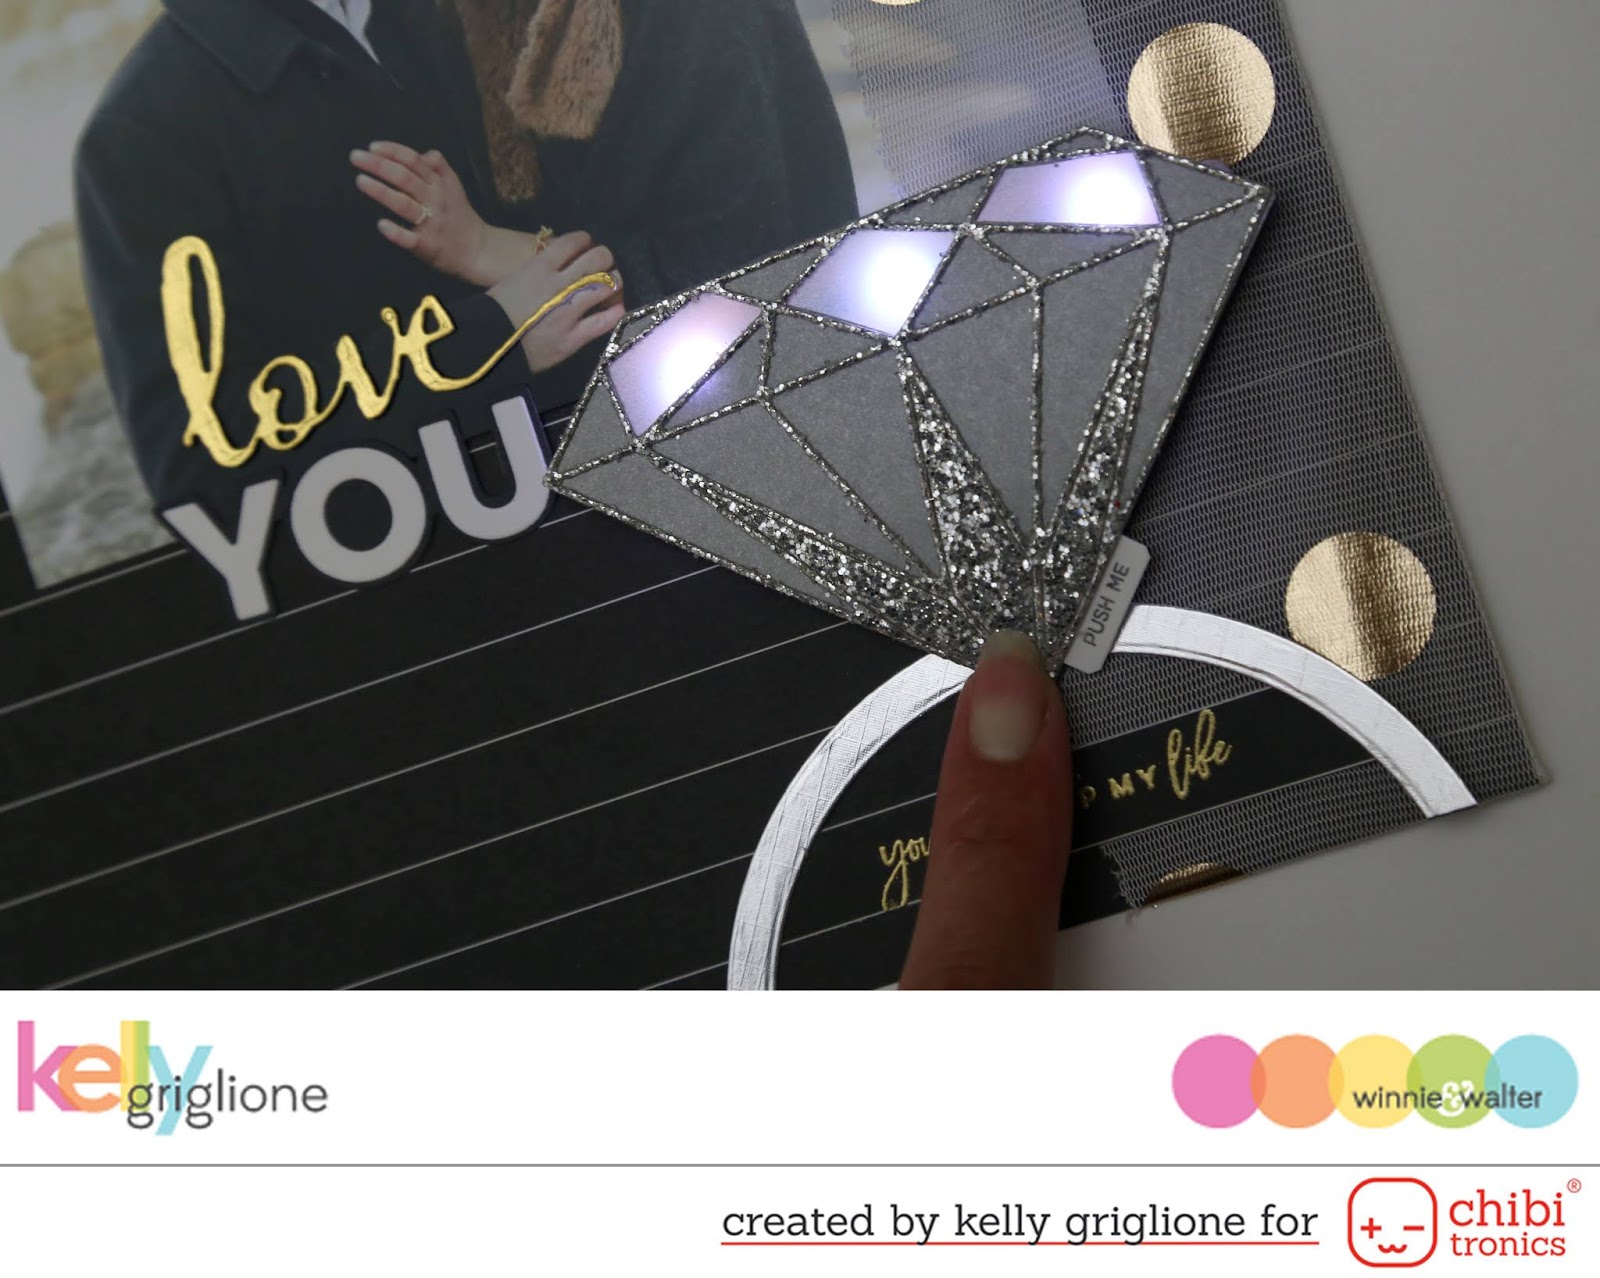
I'd like to introduce you to our cousin Jonny, who proposed to his girlfriend Meredith at Christmas; aren't they adorable?! This scrapbook page is part of a larger album that we're presenting to the new couple at their wedding (I'll share more information on that shortly) but today I'd like to feature the page that lights up!
The word cutaways (Big Bold Happy, and Dotty About You), as well as the gold embossed sentiment (Sentimental: Love) are from Winnie & Walter. Now let's talk about The Ring! The diamond is the Flawless Diamond cutaway, and the ring is from Big Round Balloon cutaways. I left some of the silver glitter facets in the diamond to help make it more sparkly. The tiny "push me" tab is from the Heffy Doodle Interactively Yours set.
I'd like to share the insides of this magical ring so you can see how it was created. I changed the format of the light switch from sliding a lever down the diamond (to make the individual lights go on and off separately, like they were twinkling) to a basic "push me" set up. Although it would have been more efficient to have the copper tape go from one light to the next down the line, it's nice to know there are different ways to do things, and that you can still fix things if they don't start out so well.
You may notice the extra piece of copper tape on top of the LED stickers. This is important to make sure you have a good connection from the battery to the LED.
Would you like to see what happens once you "push me"?!
Ack, it turned out just how I hoped! You can see I cut away three inside facets from the diamond and replaced them with some vellum to spread the light around.
Do you notice something different about the three lights? From left to right they have a pink, blue and purple hue to them. One way to change the color of your LEDs is to put Nuvo Drops on top of the LED and wait for it to dry, like I did here.
Although the lighted diamond ring makes a wonderful engagement scrapbook page, it's also sized jut right to fit on the front of an A-2 sized card.
And here it is in action! Such a fun way to make your scrapbooking more interactive. The bride-to-be, as well as the family at the bridal shower, seemed to really enjoy making the diamond light up and shine.
Prizes!
Each comment in this blog hop left by Tuesday, May 29th will be eligible for a chance to win! There are two prizes, a Chibitronics $30 starter kit and Winnie and
Walter $30 gift certificate!
Your next stop is my wonderful Chibitronics teammateTiffany Au who has the tweetest card to share with you!
Hi Folks! Did you get to see the latest article on Scrapbook and Cards Today?! I was thrilled to be asked to write a post, and after hosting a wrapped canvas party, I took the leftover fabrics ...
and used them to make a bunch of cards!
These were my favorites. Oh my gosh, that sequin fabric!! And the ruffles!!!
Click over to Scrapbook and Cards Today to see the article and all the photos. I'm sure many of you have a lot of leftover fabrics that would work wonderfully on a card. Take a look and see, it's like finding a whole bunch of patterned papers!