Thursday, August 15, 2013

A Promise to Save You $16 ...

... if you're like me and went wild over the new Papertrey Ink burlap impression plate that goes on sale today.

I NEED that. I'm dying for more choices of subtle backgrounds. 

But then I thought...

Wait a minute, don't I have burlap? Wouldn't that be just as good as a piece of metal trying to be like burlap?

Folks, it turns out that it is!


I cut a piece of scrap burlap the same size as my foam pad, and ran that through my Big Shot.


I can't believe how well it works! 


Now maybe you all already know this and I've just been on the slow boat all year, but you would not believe how excited I got in my craft room today. Then I started thinking about all other textures.

screen mesh

aida cloth

linen

sandpaper

(eta: turns out misting masks work just as well too, see post here!)

You can bet there will be some experimenting going on when school starts up and I have more time for crafting/blogging. Even the burlaps I tried were different. One is pretty even and has lots of holes, one is more random with thin and thick strands that don't run straight. I love it!


In the meantime, I thought I'd share my excitement with you and perhaps save the $16 for that impression plate for some other awesome Papertrey goodies that you can't duplicate at home. 

Thanks for looking!
-Kelly

A Wnner + Adventure Pics


Thanks so much for all the sweet comments from the Holiday Cards & More Blog Hop! It sure was fun to see all the packaging ideas AND recipes.


We have a winner for a free issue from Paper Crafts! 

Commenter #75 is ....


Isha!! Please email me your address and we'll get your copy in the mail!

---------------

If you're interested, I also have some adventure pictures to share from last week. 


This trip wasn't to explore new areas, but just to have fun hanging out at Millennium Park with friends. It's been awhile since they've all gotten together, as you can see!


The train was part of the experience. It's quicker, easier and cheaper to just drive down, but it's fun once in awhile to relax and take the train.


On our way to Millennium Park. The kids are not deterred by any office workers who may be sitting on the benches. I see several reaching for their devices and papers as they realize the swarm of kids will be upon them soon.


At the Bean in Millennium Park, we moms reflect on how it's like they've never seen a mirror before!


Love the plantings around the park.


The Target Tent always has something going on for the kids. Live music, crafts, games, etc. The kids make box kites from paper bags.


We get lucky and try a new place for lunch. It's not a chain, they have outdoor seating, and kids meals are only $5. Score! And it's across from one of my favorite buildings in Chicago ... the Carbide & Carbon Building (left side). The polished black granite exterior is just stunning, with bronze Art Deco accents. Were we not pressed for time, I would have loved to check out the lobby again.


The kids have so much fun together. A piece of yarn from the kite craft entertains them through most of lunch.


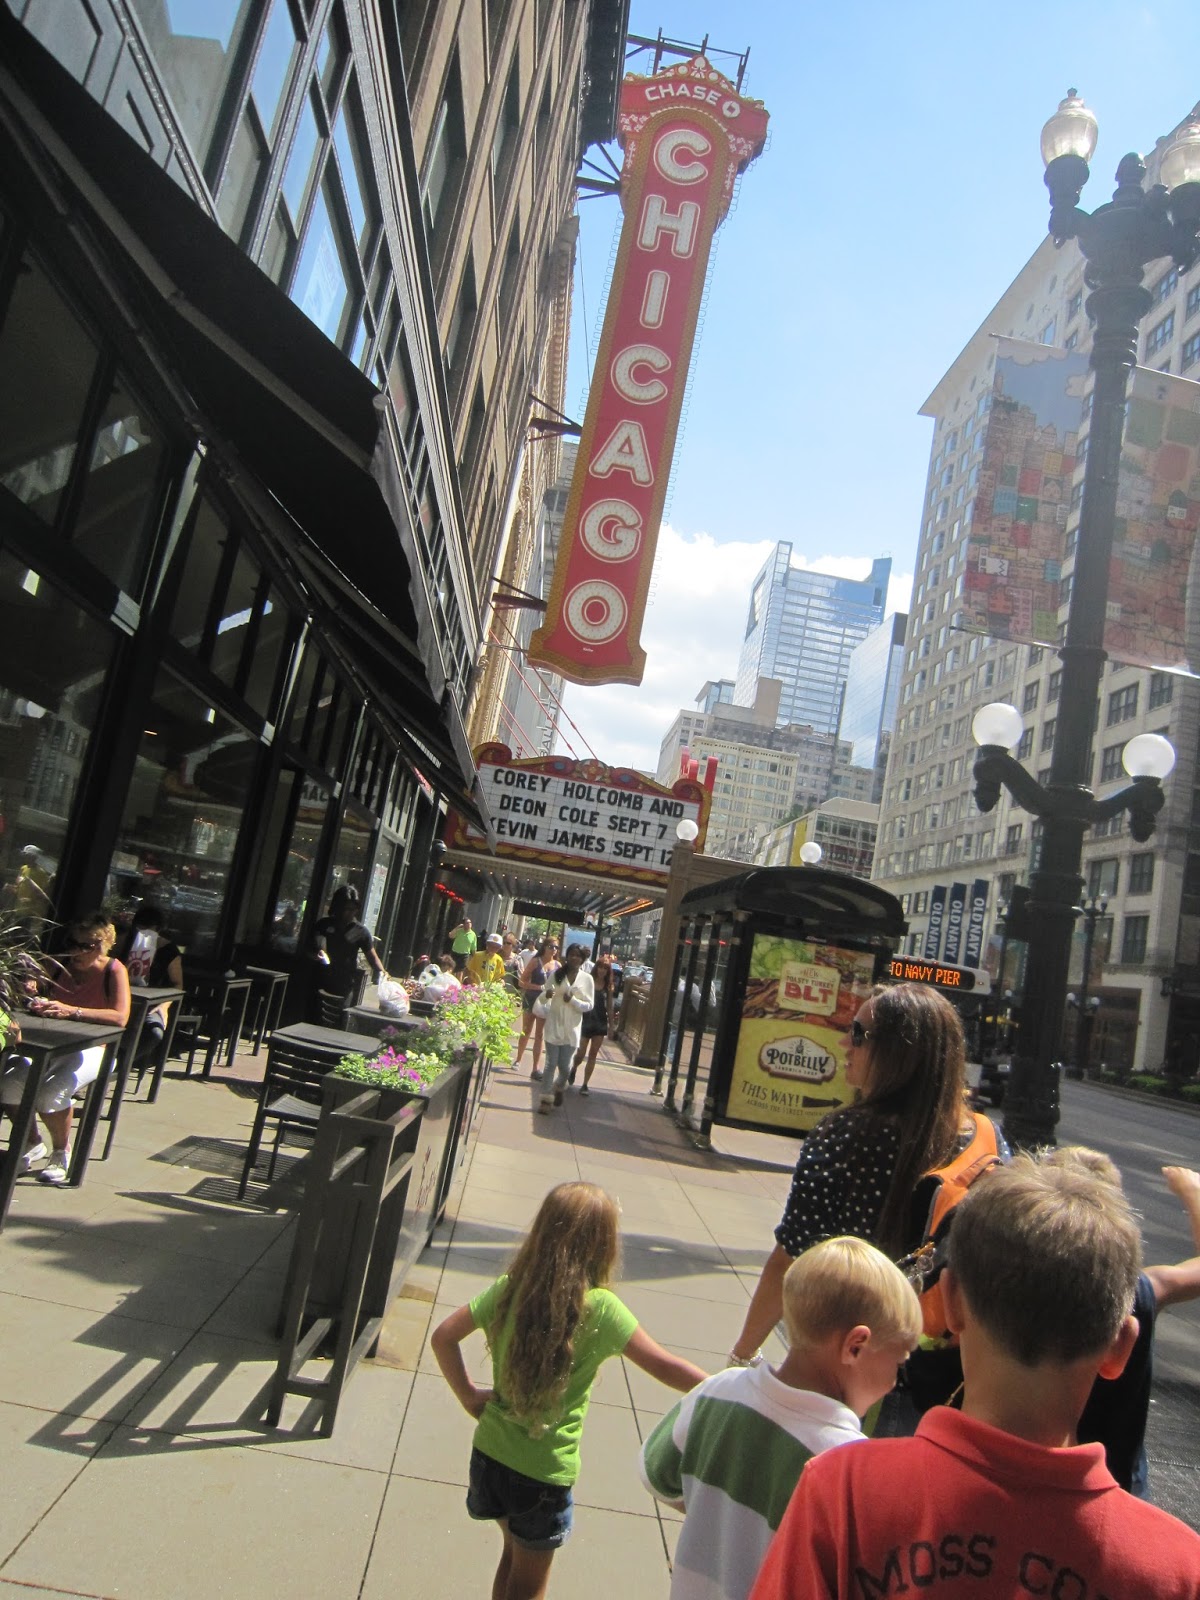
A classic "toursity" shot ... with the Chicago Theater sign (although now that I'm looking at the picture, I don't know when the "Chase" sponsorship landed on the sign). Kevin James (King of Queens) is coming here in September.

Thanks for looking!
-Kelly

Saturday, August 10, 2013

CAS-ual Fridays Stamps: It's All About the Pants x 3

(for the Holiday Cards & More Blog Hop, please click here or scroll down)


a little Q & A to start things off for pants-related cards featured on the CAS-ual Fridays Stamps blog...

Q. What do you get when you have active boys who like to wear jeans in the summer so their knees won't get hurt when they dive for soccer balls and roll around on the ground?

A. Lots of holey jeans.

Q. What do you get when you also have a card-blogger Mom who hates throwing things out?

A. Denim cards, of course!


Here's a feminine card with a non-holey part of the jeans. With some sewing, lace, bling, polka dots, and a pinked edge, it's ready to be sent to a new teenage girl on her 13th birthday. I was pleasantly surprised with how stamping directly on the denim worked out.

CAS-ual Fridays Stamp sets used include Exclamations (asterisks), Rad (sweet), and Zigs & Zags (zig zag border)


Here's a masculine card with the holey part of the jeans. Fashionable? Sure! I like the character it gives. To highlight the hole, I backed it with red paper. The sentiment is actually embossed on the denim. Again, I was shocked that it really works.

CAS-ual Fridays Stamps include Rad for the sentiment.


The small houndstooth stamp just screams "pants" to me, and why not Smarty Pants? To make the Smarty Pants, I thought about just stamping a bunch of houndstooth rows and cutting out the pants. But then the straight-lined pattern wouldn't look right. So I bent the top part of the houndstooth border stamp, stamped it, bent it the other direction, stamped it again, then cut out the pants (take another look at the picture if you're as confused as I am at this point, it will make sense then.) Definitely look more like pants this way. The floor planks are large pink houndstooth, generationally stamped.


There's a silver belt wrapped around the pants, with a buckle made from two punches. It didn't look right at first, and then I realized what was missing. From the pants leftovers I made some tiny belt loops. Better! Then used an impression plate on the pants to make them look like fabric. 

Thanks so much for looking!
-Kelly

Friday, August 9, 2013

Fusion #15

(for the Holiday Cards & More post, please scroll down or click here)


Hi folks, it's time for another fusion challenge! As a reminder, you're free to be inspired by the photo, the sketch, or a fusion of both. It's always fun to see what everyone comes up with, and how different the cards are. Don't forget to vote for your favorites, too!

 I went with the photo for inspiration this time. Still loving the chalkboard effect, but I tend to prefer the "cleaner" look and not as much chalk dust : ) So I just emboss with white.


I wanted to do something a little different, so I split the Papertrey Stylish Sentiments into three parts. Patterned paper is mounted between the sentiments, and a Memory Box branch below. I was pleased with how this turned out, and it really couldn't have been easier! If I wasn't fiddling around with things, it would be a 5 minute card. 

Thanks so much for looking!
-Kelly

Paper Crafts Holiday Cards & More, Vol. 8 Blog Hop


Who's up for some Holiday festivities already? Yes? Fantastic! Because Paper Crafts is putting on a super-fun blog hop to celebrate their newest special issue, Holiday Cards & More, Vol. 8. This issue is packed full of home decor, wraps, tags, cards, and even a whole section on photo cards! There's also a ton of creative ways for food-giving, which is the theme of this hop.

I'm happy to offer a giveaway for this issue, compliments of Paper Crafts. Just leave a comment on this post by Tuesday, August 13th for a chance to win (each stop in the hop will be giving away a copy, so be sure to visit them all)!


 Today I'm sharing my all-time favorite Christmas cookie - white chocolate cherry shortbread. In years past I'd branch out and try different recipes, but now I just go for the gold and make this recipe for everything. Cookie exchanges, family parties, gift-giving, they all look the same!

For this hop, I wanted to make something pretty to put them in.


My go-to idea for packaging is to use glass containers that I save throughout the year (pickles, jelly, sauce, salsa, you name it). They're free, and I feel good about recycling.


Just spray the top with whatever paint you have on hand, and you're half way there!


The band is a piece of wrapping paper, and the tie is from a skein of looped yarn.


Love how the yarn makes a pretty rosette just by tying it in a knot!


Fill it with cookies and you've got an incredibly affordable (practically FREE, aside from the stamps and dies) and fancy present for anyone on your list.

If you're interested, I've copied the recipe for the cookies at the end of this post. This one is taken from Taste of Home, but it's also one of the Better Homes and Gardens All Time Favorite Christmas Cookies.


 Thanks so much for stopping by! Please continue on the hop to see what these incredibly talented ladies have made for you. Your next stop is Vera Wirianta Yates, who always has something amazing to share. Don't forget to comment at each blog for a chance to win your own copy of  Holiday Cards & More, Vol. 8! Also check out the enormous collection of Christmas products that you can comment-to-win back at Paper Crafts Connection!

Kelly Griglione <-- you are here


White Chocolate Cherry Shortbread Cookies
  • 2-1/2 cups all-purpose flour
  • 3/4 cup sugar, divided
  • 1 cup cold butter, cubed
  • 1/2 cup finely chopped maraschino cherries, patted dry
  • 12 ounces white baking chocolate, finely chopped, divided
  • 1/2 teaspoon almond extract
  • 2 teaspoons shortening
  • Coarse sugar and red edible glitter

Directions

  • In a large bowl, combine flour and 1/2 cup sugar; cut in butter until crumbly. Knead in the cherries, 2/3 cup white chocolate and extract until dough forms a ball.
  • Shape into 3/4-in. balls. Place 2 in. apart on ungreased baking sheets. Flatten slightly with a glass dipped in remaining sugar. Bake at 325° for 10-12 minutes or until edges are lightly browned. Remove to wire racks to cool completely.
  • In a microwave, melt shortening and remaining white chocolate; stir until smooth.
  • Dip half of each cookie into chocolate; allow excess to drip off. Place on waxed paper; sprinkle with coarse sugar and edible glitter. Let stand until set. Store in an airtight container. Yield: about 4 dozen.


Friday, August 2, 2013

CFC111: Buttons


 Time for another CAS-ual Fridays Challenge after the two week challenge using numbers. This week we are sponsored by Ellen Hutson and are challenged to use buttons on our project. Boy, did I have a hard time thinking of something to make. I had in my head an idea of something hanging, and finally settled on a baby's mobile.


I bent some wire to make the base of the mobile, and then it was a bunch of trial and error to see where to hang the buttons so they balanced each other. For the sides that were too heavy, I rolled the loop holding the button inward until it balanced.


I used an exacto knife to cut a square through both layers of the card, except for the bottom edge which I scored so it could fold down. 


I scored the flap again so it would anchor the card in the back.


For mailing, the flap folds up and the mobile lays flat. When it stands up it's fun to see the mobile twist into place, kinda like a real one!

Thanks for looking! Sure hope to see you in the gallery!
-Kelly

Thursday, August 1, 2013

CAS-ual Fridays: Christmas Carols + 2 cards

Our final stamp set for the new CAS-ual Fridays Stamps release is a classic Christmas set called Christmas Carols.


 It's got a great line/dot border that I multiplied to make a thicker band leading to the Peace sentiment. The embossing powder goes from silver to gold mid-way down the band.


There's also a set of four petaled flowers. I stamped the medium one in the form of a wreath, and the small one on top of itself to make berries, poinsettias, or something red that would be in a wreath! Here you can see the line/dot border paired with a sentiment from the set.

Well that's all, you've made it through the release posts! The dies and sets will be available at CAS-ual Fridays Stamps on Friday at 9 EST.

Thanks so much for looking!
-Kelly