Showing posts with label Project Life. Show all posts

Monday, June 23, 2014

Kindergarten Project Life Pages on Winnie & Walter


winnie & walter blog

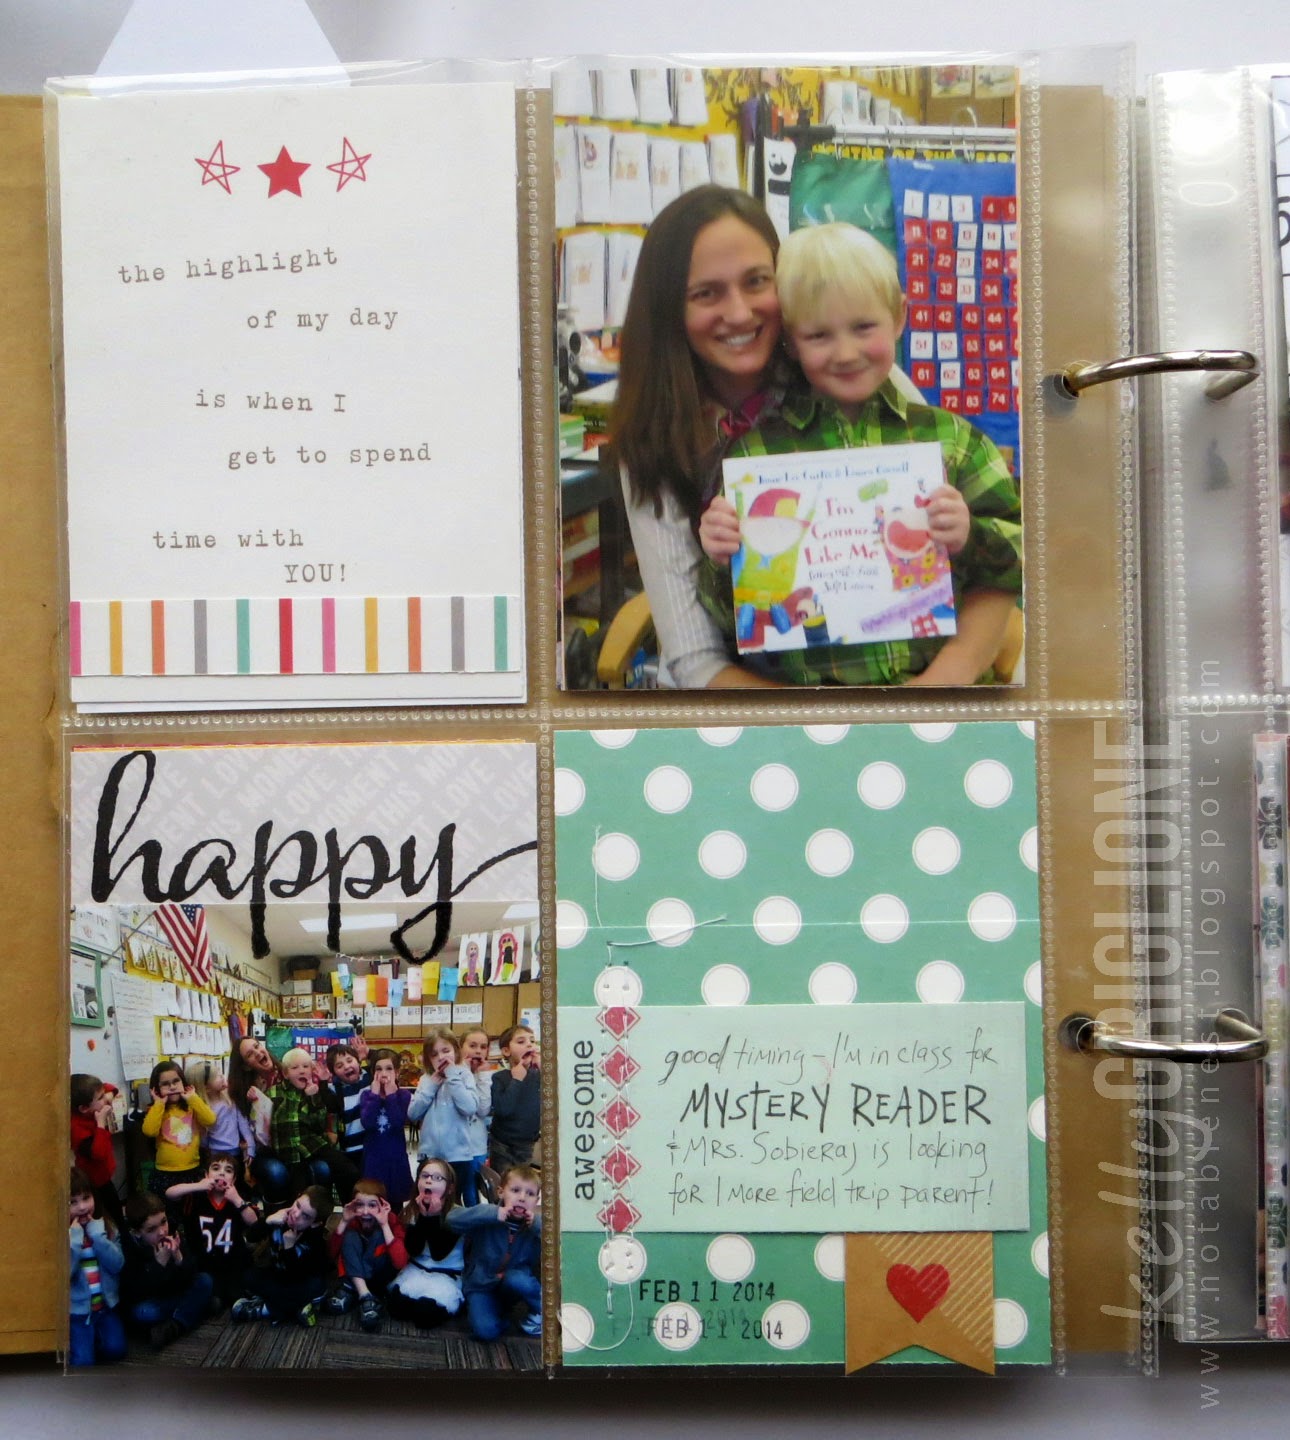
Hi folks! I'm sharing two Project Life pages on the Winnie & Walter blog today. If you get a chance, stop by and check them out : ) I'm on a quest to finish this thing up before Jackson starts 1st grade!

Thanks for looking,
Kelly

Thursday, May 1, 2014

Winnie & Walter Share the Love: Elle's Studio


Hi Folks! This week at winnie & walter we're sharing the love with Elle's Studio. We all received the same package of gorgeous product and were asked to have fun combining it with winnie & walter products. Fun, right?


As soon as I saw the bright, happy colors of the Everyday Moments line from Elle's Studio, I knew what had to be done.

No more procrastinating.

It was time to start my youngest son's Kindergarten album.

Yes, actually, I do realize that school will be ENDING in a few short weeks. It was my intention all year to get this going but it never really happened. The empty album lie open on my dining room table for months. It's been so long since I've scrapbooked that it was just hard to start it back up again. But I'm happy to report that I've made my start and actually completed a few pages. Yay me!!


The patterned papers on this layout, and the remaining layouts are from Elle's Studio Everyday Moments, so I'll mostly point out the w&w stamps. We've got the little captions stamped on the photos with Staz On ink from The Write Stuff: Leave it to Dad. The ticket (perfect for a fun fair layout!!) is from The Write Stuff: Love Story, and "friends" is from The Big, the Bold and the Happy. Actually, the stamp in the set is "friend" but I borrowed an "s" from the end of "father's" and stamped it right after the word. Oh, and the sequins! Those are a very thoughtful extra that came in my w&w package, so I'm counting those too. Yay for fun surprises!


 This Bingo Night layout has an arrow from The Write Stuff: Love Story stamped right on the photo, again with Staz On. I put it there because I felt the larger space of white on that photo drew your eye as the focal point, and I wanted your eye to start with the bingo photo instead. I'm sure there's a better way to change the focal point than a literal arrow, but as I said, I'm dipping my toes back into scrapbooking so please hang in there with me!

On the bottom left photo, I was happy with how well the balloon stamp from The Write Stuff: Leave it to Mom works in a scrapbooking context. I told the kids no fish were to come home with us (pet fish are among the prizes). Our last Bingo Night beta fish lasted 2 1/2 years, which is a much longer commitment than I'm looking for these days : )

OK, just two more layouts and then I have an actual card. Promise.


Here's "happy" stamped as a caption to the class photo (so funny when you tell Kindergarteners to make a funny face, they 100% of the time stick their fingers in their mouth ... ?) Then "awesome" from The Big, the Bold and You makes a nice journaling title, and the row of red diamonds from Parentville sets it off with a little sewing on top.


The cancellation and postage stamp from You've Got Love Mail are great for a page on the school valentines we made. On the bottom right the red tab that the arrows are pointing to invites you to pull out a journaling card (actually a left over valentine background). Below that we have another use of the word balloon from The Write Stuff: Leave it to Mom, and rows of hearts from You've Got Love Mail, which are perfect for filler background. The journaling strip was looking too bare after the journaling, so stamping a few rows of these hearts in different colors did the trick (and as a bonus fit in nicely with a page on making valentines!)

As mentioned, here's the card:


All embellishments are Elle's Studio, except the green airmail stamp, where the wood veneer star is strategically placed in the middle to cover up a "feb 14". The "you rock" is from The Big, The Bold and You. I like the casual feeling of the sentiment to match with the overall feel of the card. Especially because of the gray star background, I think this card could be for a teen boy or a teen girl.

Well thanks so much for sticking with my longer post! I sure hope you get a chance to check out winnie & walter to see more fun the team has had with the same products from Elle's Studio!

-Kelly


Thursday, February 9, 2012

Project Life [weeks 1-4]

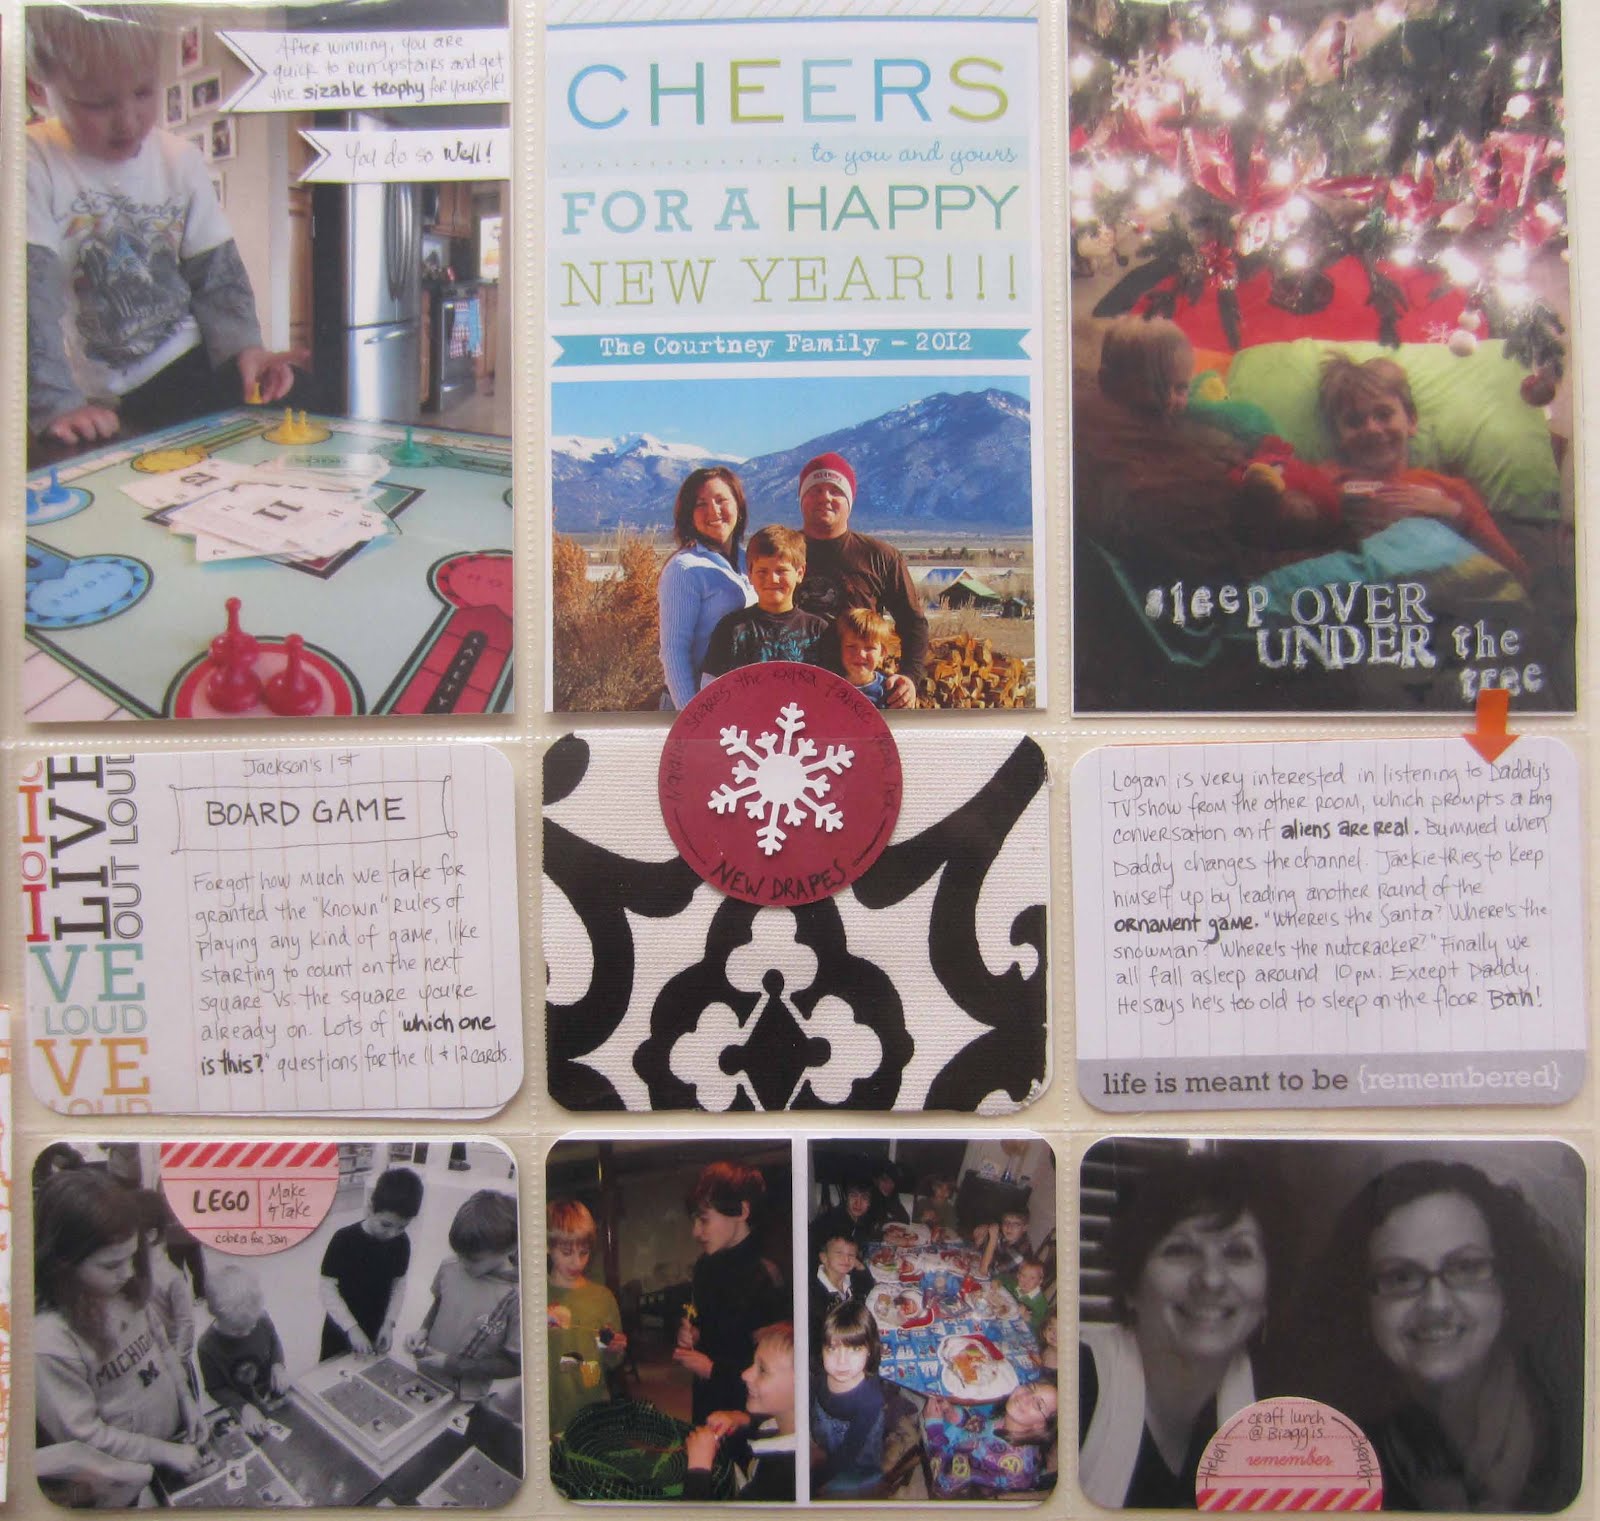
I can't say enough good things about Becky Higgins' Project Life. The system of creating weekly scrapbook pages has so many benefits, including:

- keeping me on schedule (HUGE for me, I need deadlines or it doesn't get done);
- letting me be as creative as I have time for;
- regularly showing something CURRENT to the kids and seeing them get excited;
- providing a place to keep "randoms" (clothing tags, art, tickets, mail, whatever);
- documenting the everyday stories (ones that would otherwise be lost forever);
- using my supplies (how many new products have gotten use, finally);
- printing photos out (last year I took thousands, printed only a dozen); and
- staying close to one of my most important goals as a mother - memory keeping.

Thank you Becky Higgins. Without being too dramatic, I consider this a life-changer project. The only thing I don't love? The page protectors have been out of stock on Amazon! I didn't decide to jump on the [huge] bandwagon until New Year's Eve and they were already sold out by then. But I'm not letting that stop me, and have taken photos of the "pages" anyway.

So, photos shall we?

Week #1


A snippet of an email sharing a great word for this project.


I used a page protector D (instead of the usual A style) for the right hand side. Going forward, I think I will be consistent and use all style A layouts.


I was excited to stamp right on the photo (although I felt a little naughty doing it, must get over this!) I had to use the embossing gun to set it so the ink doesn't smear. As you can see, I didn't do a great job. But that's the beauty of this project. It's real life, smudges and all. The photo actually buckled a little too when I had the gun on a spot for too long. Next time I'll know.


Week #2


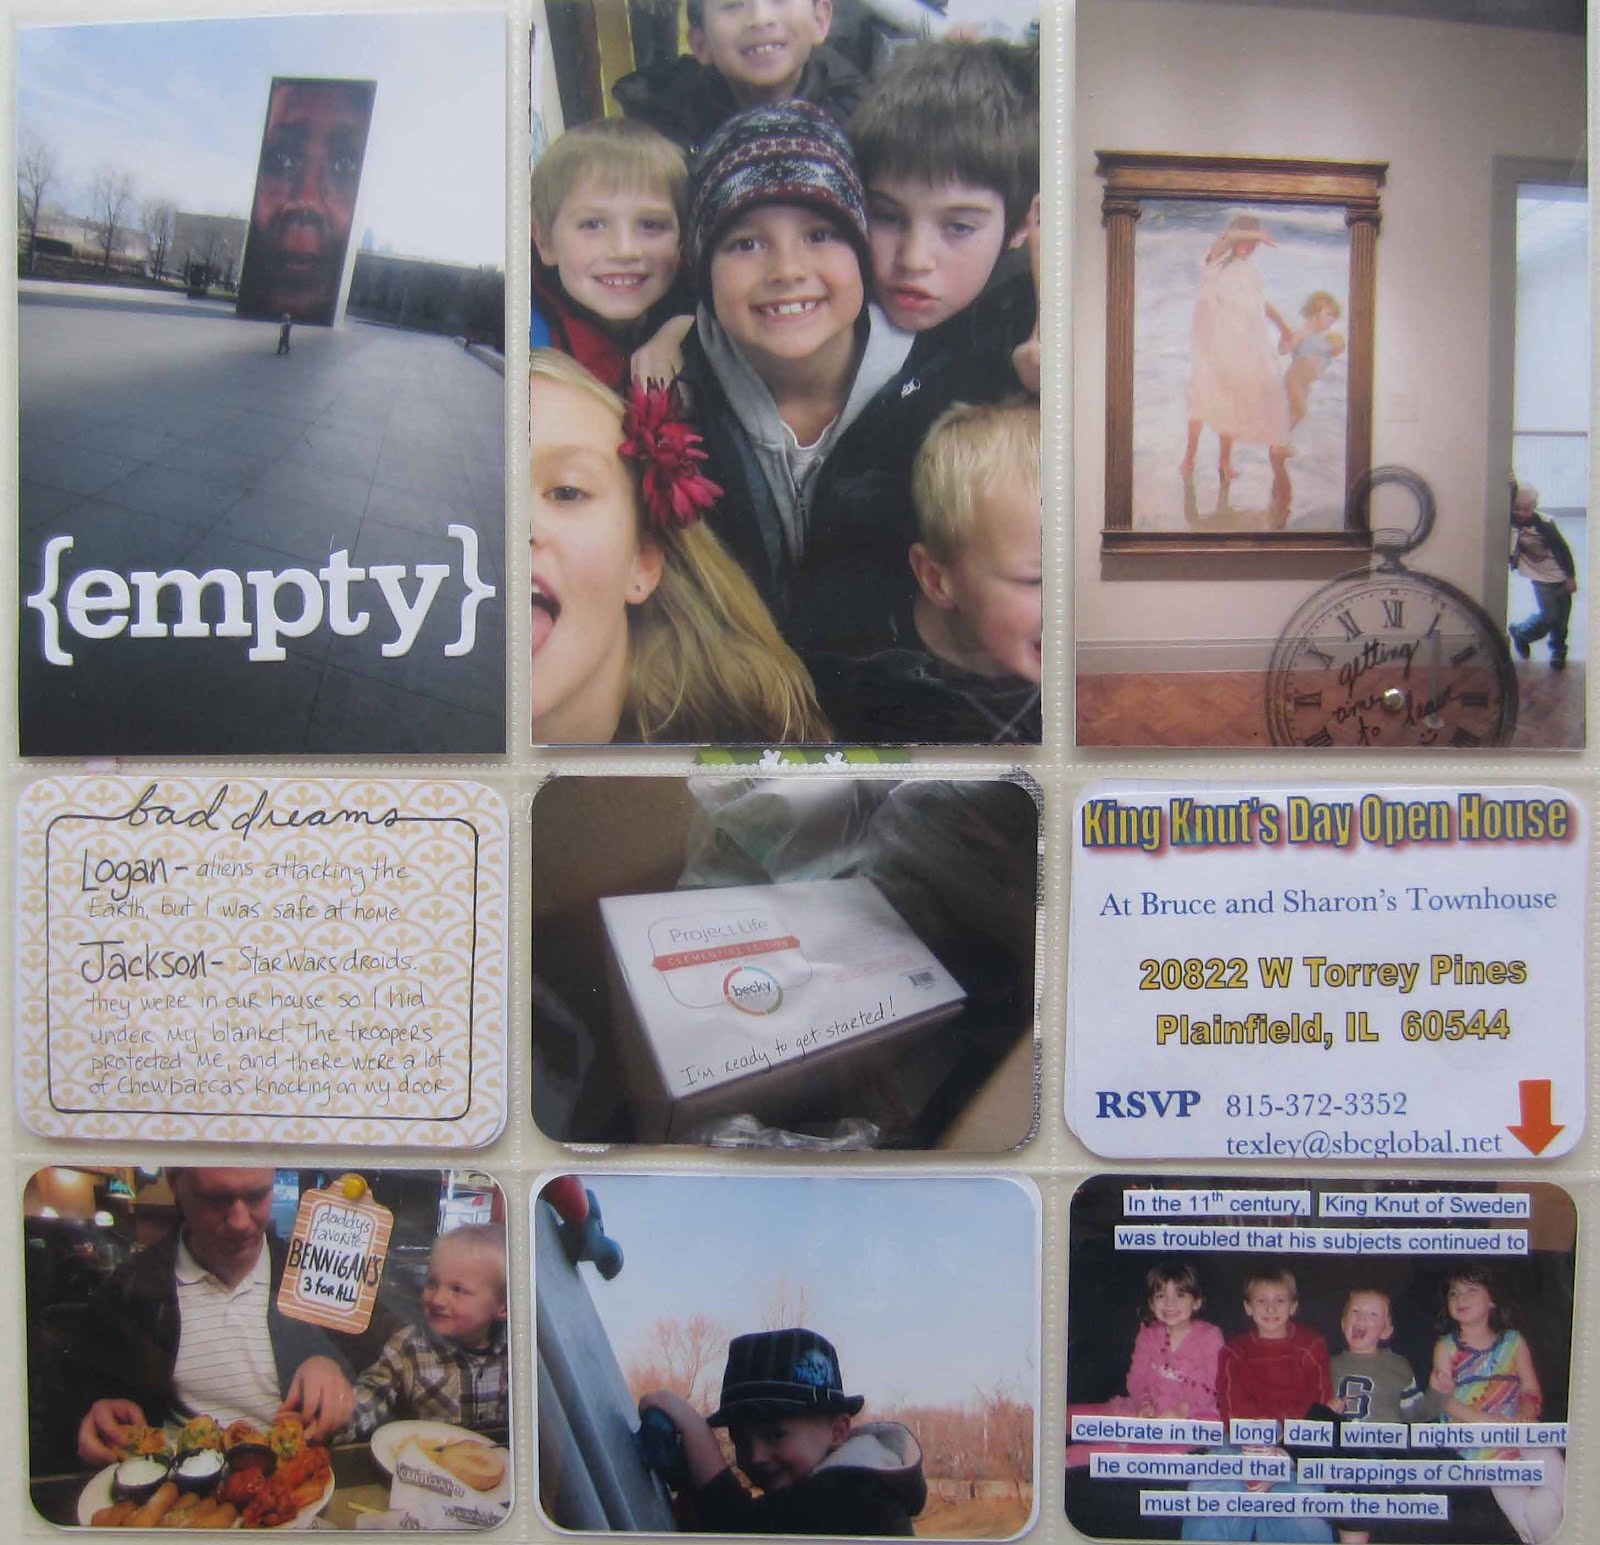
Why not record some dreams from the week?


This week I included an insert about how thankful I was to spend the afternoon downtown since the next day it was cold and snowy. The insert is in a regular 8.5 x 11 page protector that's trimmed down and secured by sewing on washi tape at the edge.


Week #3


The clear bag with a large, graphic Spyder from a purchase this week is perfect for Project Life. Just punch two holes so it will fit in the album, reinforce, and you have a peek-a-boo divider between the pages.


Can I tell you how hard it is to keep little rectangles lined up on a mat board to take photos when it's been turned into a train track?


Oh my, the butter incident from Jackson's first attempt at making toast. So glad I captured this memory! Love writing on photos with permanent marker.


Week #4


Inspired by one of Ali Edward's posts on looking at a photo and coming up with a variety of different stories to tell. Love that idea. So I brainstormed 4 different stories to go with the egg photo.


Seriously, before this project I had no idea there were so many different kinds of security envelop liners. Never even looked twice at them. How cool that this represents the variety we received in the mail this week!


Thanks for sticking with my longest post ever. I'm surprised and delighted that I'm not behind on this project yet!