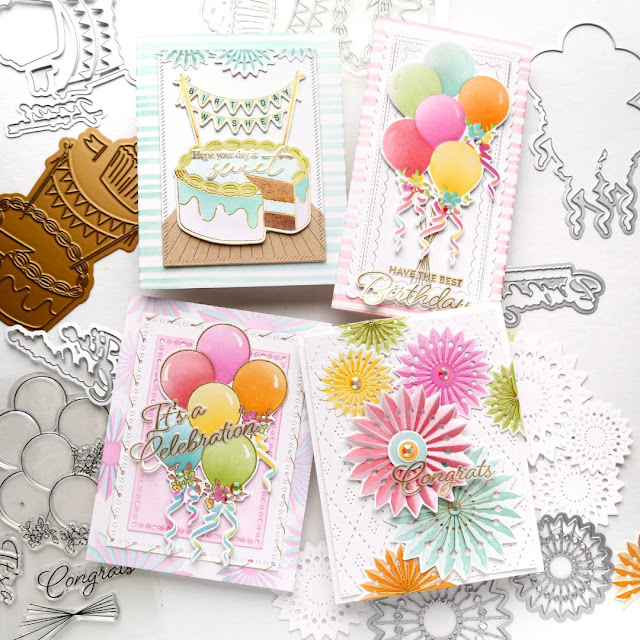
Hi Friends! Oh boy, was I excited to see the April release from Pinkfresh!! As insanely beautiful as their floral sets are, most of the cards I send are for birthdays, and most of those birthdays are for men/boys. So when I saw all the new birthday sets, done in typical grand Pinkfresh fashion, I was absolutely stalking the mailman!

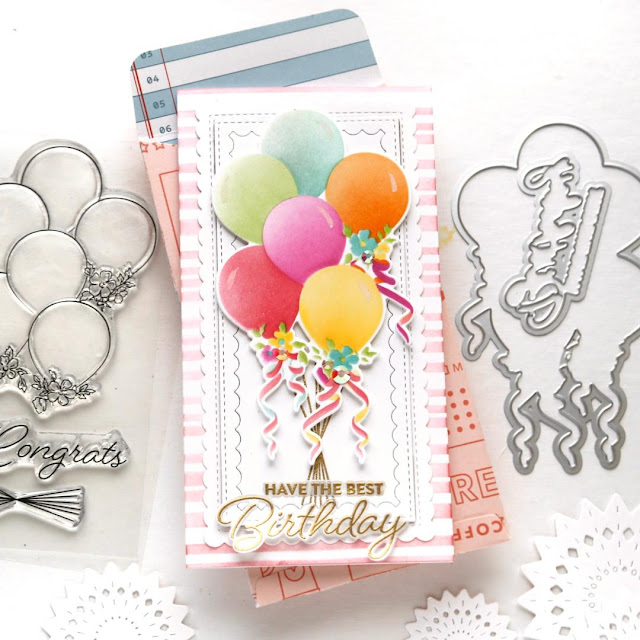
There are lots of balloon stamp sets on the market, so what makes this a Pinkfresh balloon set? Oversized to cover the card? Yep. Coordinating stencils to easily color them? Yep! Adorable FLOWERS and streamers on the bottoms? Yep yep yep!! Ribbons Balloons is perfectly Pinkfresh!

Check out all the dimension with the die-cut streamers! To match waves of the streamers I choose the scallop panel underneath.
Also love how closely cut the sentiment die is. Embossing the sentiment on vellum makes it appear as if it's floating and maximizes how much of the card below is visible. This comes in handy when layering it over the balloon strings that I didn't want to hide.
The balloons are perfectly sized for a slimline card, but how do they look on an A2 card ...

Still a great size.
Here's another die cut sentiment - love that it doesn't cover the pretty balloon colors. For the background panel I wanted to make it look a little more festive so I did a quick stitch around the edges with gold thread.
The card base is made from the stencil of another new set, the Rosettes, which is featured on the next card:
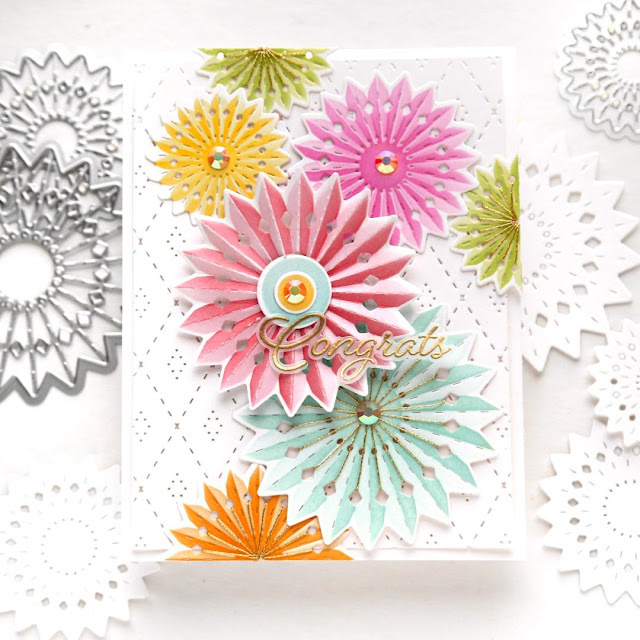
So festive! And I love that there are so many different ways you can use them.
This card features 3 different ways to use these:
1) As intended (like the yellow and pink rosettes) with two different colors from the stencils, and die cut so you can layer them around your card;
2) Stitched (like the green, blue and orange rosettes with gold thread); and
3) Folded (like the red rosette) where I cut out the center and then was able to fold the rosettes back and forth along the dashed lines.
These will be such great items to add in the background of birthday and celebratory cards. Just like my next card:
Don't you think the top bits of rosettes make the card a bit more festive? OK, and this cake from the Sweet Day Stamp! With the tiny banners! That are die cut!! Eeeep!
The layered stencils make coloring this cake a breeze. For the chocolate cake portion, I flicked brown watercolor while the stencil was still in place to make the crumbs.
And it comes with a hot foil plate, which looks amazing, especially with all the icing detail. This will be one I use for many of my male birthday cards.
It really was a joy to work on these festive cards, and I can't wait to make more with different color combinations!
PS, I did just a few days later ...
My friend's 50th birthday was this weekend, and naturally I had to make a feminine version of this card!
I wanted it to match the rose gold and pink decorations I made for the big dinner her husband planned.

My friend wasn't thrilled with turning 50, so I thought saying "50 Birthday Wishes" might sound better than "Happy 50th Birthday" lol
GIVEAWAY:
If you're the lucky one, you'll receive a giant box with the FULL RELEASE!
Or there are also ten $25 gift cards to win!
Winners will be picked from the comments on my blog and along the entire
hop, and posted on May 3, 2023 on the Pinkfresh GIVEAWAY PAGE.
You must check that page & claim your prize within 2 weeks. Good luck!
I'm sending you to the one and only Laura Bassen, who has wonderful things to share!
Here's the complete list if you need to hop somewhere else:
Thanks so much for stopping by!
-Kelly
Supplies Used (thanks for your support!!):


