Friday, June 9, 2023

New Anita Jeram Furry Friend Release and Blog Hop!

Hello Friends! It's time to celebrate furry friends with an adorable new release from Colorado Craft Company's Anita Jeram line! I hope you get a chance to look at the entire release as there are so many different and huggable critters and themes. 

You may have come from the blog of Kassi Hulet, but if not, please feel free to start at the beginning with Adrienne Kennedy CCC's  blog.


The Lift You Higher set features the cutest little scene of a kitty pushing another kitty on a tree swing. The sentiment "Siblings by Birth, Friends by Choice" is entirely sweet and not common to find in stamp sets. 


Did you happen to notice two robin eggs hiding in the tree?! These are from the Tiny Birds Worm Mini Stamp Set


I was able to tuck them behind the die cut tree that I left curving out for dimension, so there's a layered bit of dimension in this area of the card. 


They seem to be having a ton of fun, and if you didn't get that from the images, there's a cute little "WEEEEE" stamp and die you can add to your scene!


Another darling set of images can be found in the Stay Pawsitive stamp set. It comes with several sentiments that you can mix and match with the different images. 


Here's a little trick I do often: The first time I colored the little doggie I didn't like how dark I made the face. No worries! I just colored another face, cut it out, and popped it up on top of the first face. Done! This also serves to give more dimension by having the head come out at you.


The crouched doggie patiently waiting for his food bowl to be filled is utterly charming! I like how the sentiment "Stay Paw-sitve" is right underneath the doggie's paws. 


Then to finish off the card I stamped the bowl and a row of doggie bones. There are so many elements in this set that are interchangeable for the card you want to create. 


Finally, for this card from the Treat Yourself set, I let the sentiment take center stage, and added a little kitty being taken care of by her big friend. 


To help her stand out I put a few layers of cardstock die cuts under the kitty. Another detail is the gold thread stitched in long stripes across the card base. 


What a sweet way to show someone they matter!

Prizes!
We're doing two different giveaways! Enter as many times as you'd like until July 12th. Winners announced on July 14th. Good luck!!

Giveaway 1: All designers will be giving away a stamp set from this release (your choice) to a lucky winner that will be drawn from all the comments left on our blogs or instagram.
Giveaway 2:
We'll be giving away a complete bundle or equivalent gift card of this release to one randomly chosen winner that has placed an order using your favorite designer's affiliate link (like by clicking on the links on the images below).

Your next stop on the hop is the uber-talented Kelly Taylor!

Here is the full list if you need a reference:

Adrienne Kennedy CCC

Amy Tsuruta

Amy Young

Daniel West

Emily Midgett

Jenn Shurkus

Jennifer Kotas

Jessica Frost-Ballas

Kassi Hulet

Kelly Griglione

Kelly Taylor

Nancy Sheads

Sandy Allnock


IG:


Adam Karle

Jenn Gross

Joe Sysavath

Laura Inguz

Mansi Bhatia


Thanks so much for stopping by!
-Kelly

Supplies Used (Thanks so much for your support!)

Lift You Higher

Stay Pawsitive


Treat Yourself

Tiny Birds


Wednesday, May 10, 2023

Six Ways to Use a Stitching Die!! - New Spellbinders Infinity Punch and Pierce Plate


Hello Friends! Looking for more ideas on getting the most out of your supplies, especially with the hot new stitching plates?! Great, let's take a look at SIX different ways to use the new Spellbinders Infinity Punch and Pierce Plate! These are organized in order of stitching effort, starting with ...

1) No Stitching!


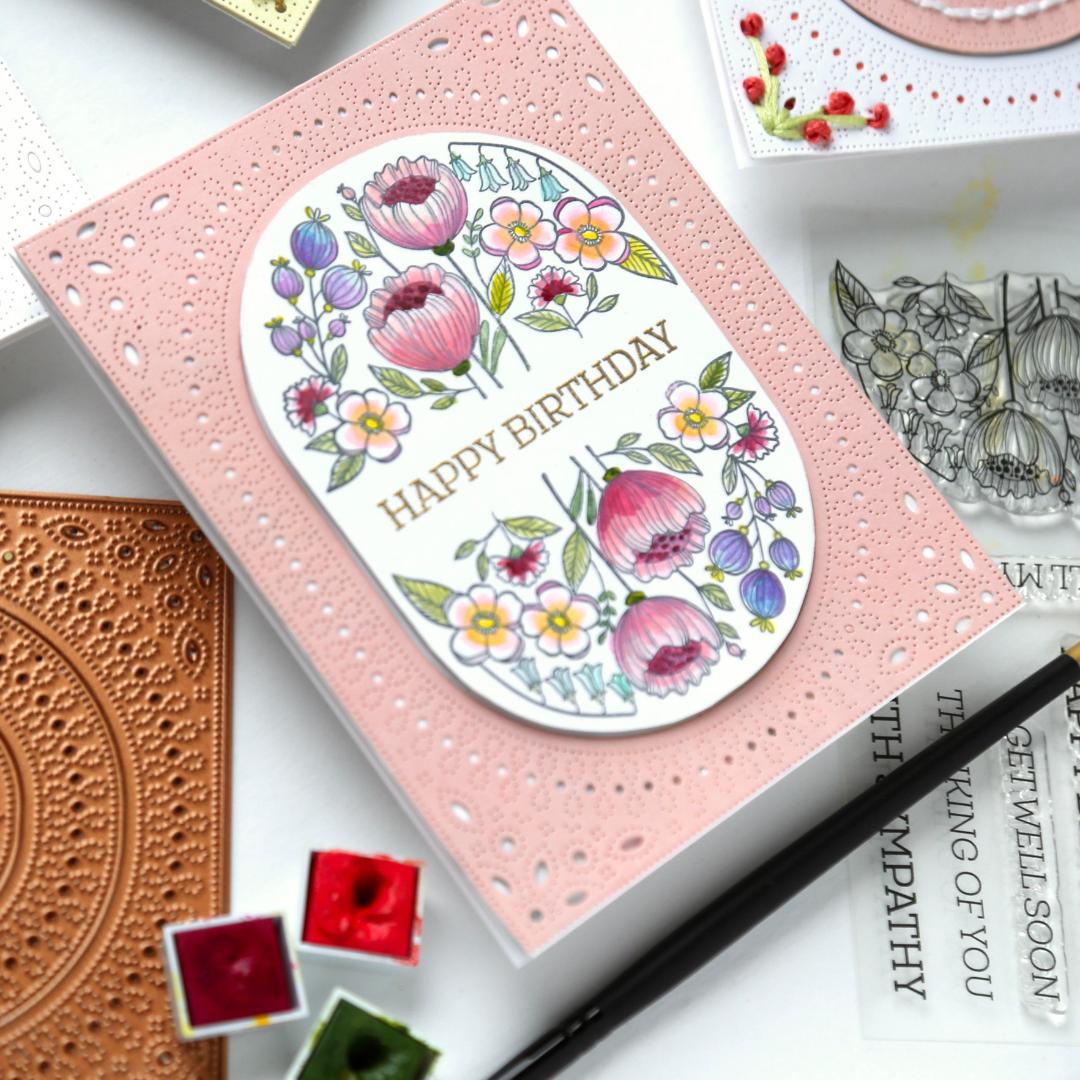
Sometimes with a stitching/piercing plate this good, you don't even need anything else. Just load it up and run it through your die cutting machine! All those holes and piercings make this look like a fine, vintage, lace tablecloth, don't you think?

In the middle we have the beautiful Fill My Heart Stamp Set which cleverly is designed to be stamped twice - on the top and bottom of the oval - to fill the space. 


Then, since there's only one floral stamp, the rest of the stamp set is filled with tons of sentiments to stamp in the middle. Nine different sentiments to pick from!!

2) One Stitch


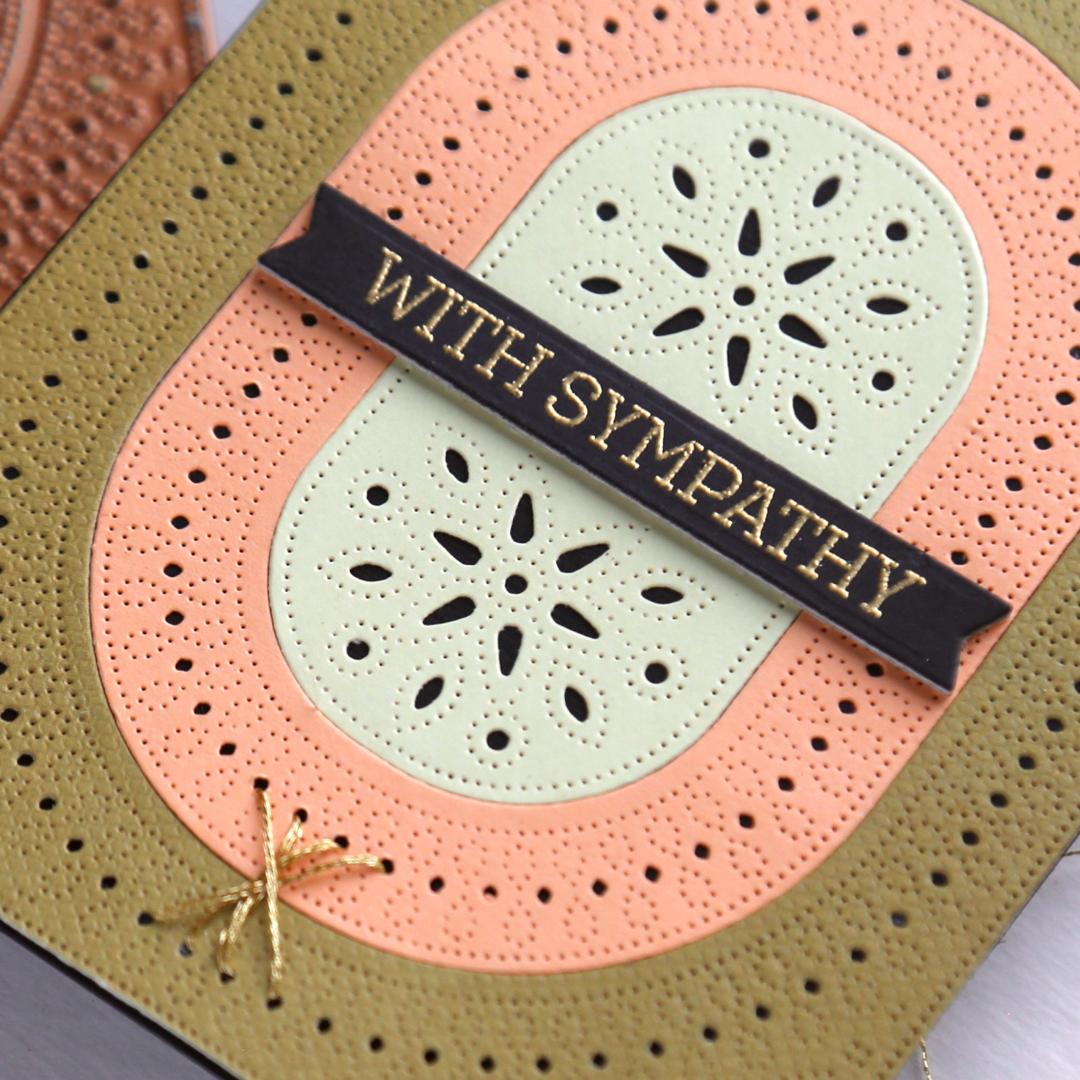
We're starting off the stitching options easy - ONE STITCH lol!


It's a large stitch, so it doesn't get lost on the card, and I've stitched four different angles in an asterisk of sorts. 


This is one of the nine sentiments from 
Fill My Heart Stamp Set.


A little touch that's very appropriate for a sympathy card, even in gold metallic.

3) Stitch minimally - Corner to Corner


Just a step up from one stitch, is a few giant stitches that run the whole border of a card. 


I like to think of this as more of a border drawn around the card, only it's super-easy, perfectly straight, and shinny metallic. To make it a bit more interesting, I took advantage of the cluster of holes in each corner and stitched across once to keep the longer stitches in place a bit. 


Let's talk about this shining star in the middle from the Stylish Oval Thanks Hot Foil Plate, which comes with a die for the sentiment! I love how much of the foil is left on the card, making me feel like I'm really maximizing my foil rolls.  


It's the best of both worlds, lots of foil, and tiny areas to be colored, so no need to spend a lot of time coloring if you don't want to. 

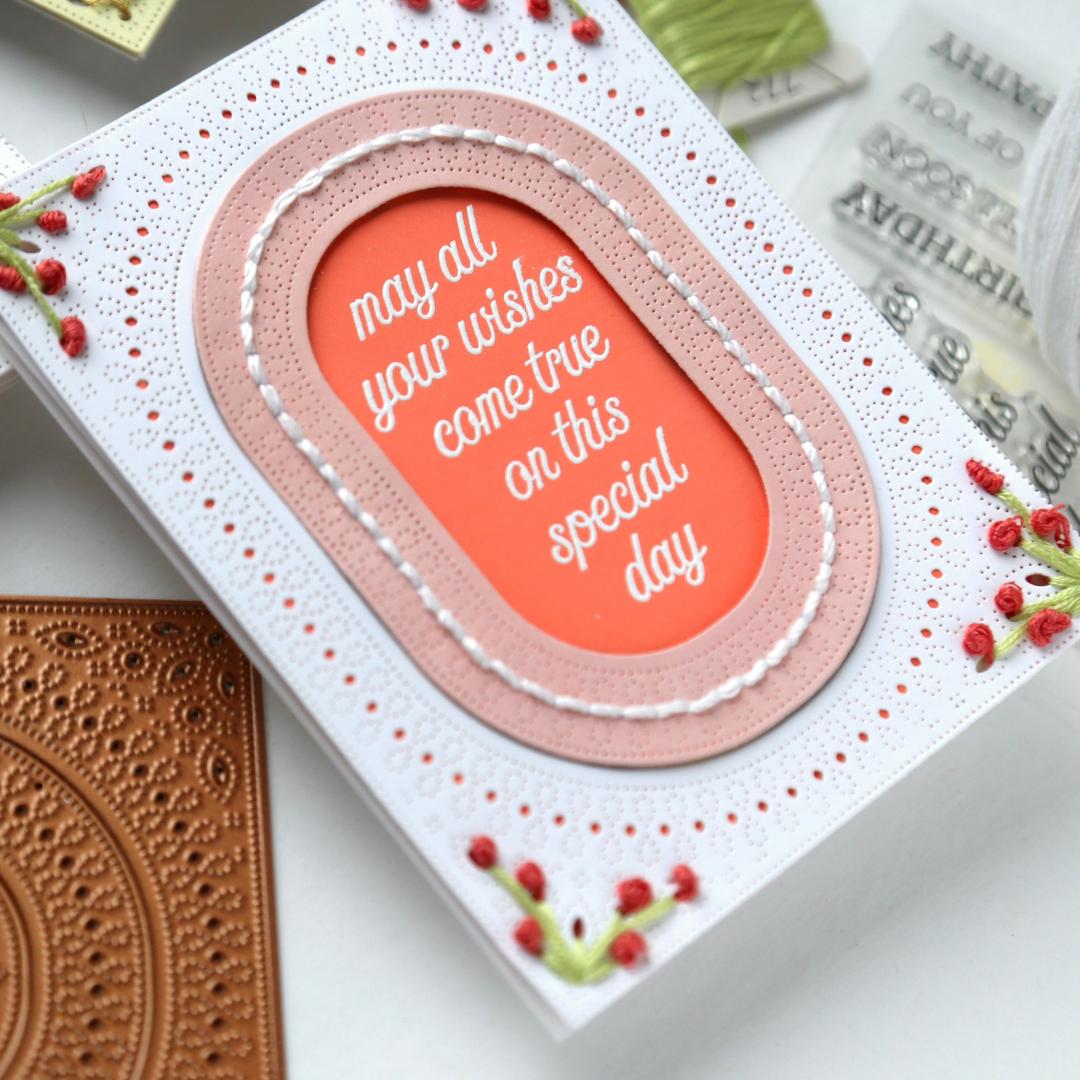
4) Stitch A Little More - Running Stitch 


Here's one to save for a favorite TV show - cut out the middle oval and then do a simple running stitch around the oval. Nothing you need to think about, which is perfect while being in front of a TV.


The sentiment in the middle is the ninth, large sentiment from the Fill My Heart Stamp Set. It was kind of different not having a flower or other graphic design element as the focus of the card, but the font on this sentiment is very attractive, and it fills the space perfectly. 

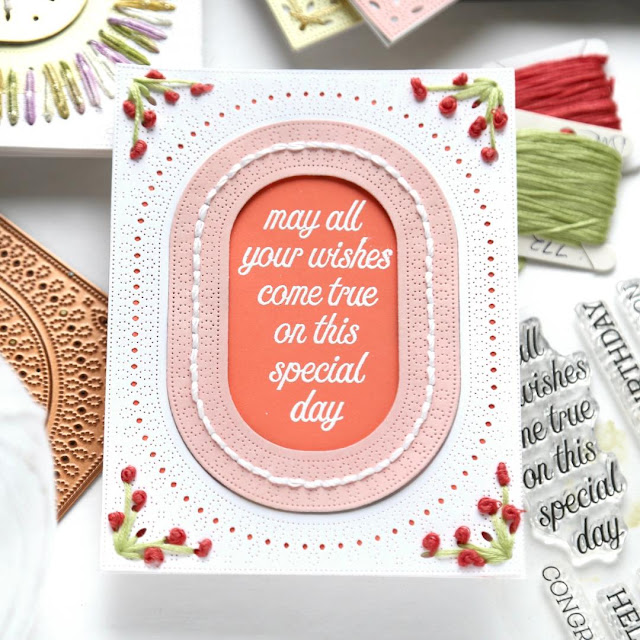
5) Stitch The Details - French Knot 


Perhaps because I didn't have a graphic angle, I elected to add more stitching details in the form of French knot rosebuds. 


Repeating the stitching in each corner frames the card more, and gives more overall weight to it. 

6) Stitch Maximumly - Long Stitches


My final idea is to go for broke and stitch as much as you can!! 


The 
Infinity Punch and Pierce Plate has three different pieces - the center (gold), the inner (light green) and the outer (white). The holes that go around the inner and outer ovals mirror each other very well so it's easy to stitch those two sections together.  


For the straight sections you can just stitch straight across. For the curved sections, it works out if you make a few "V's" and stitch from two different outer holes into one inner hole. 


Using gold foil paper for the middle adds a bit of "sexy" to the card, and then I stitched another two "asterisks" topped with gems with the remaining holes. 


I put two sentiments together in the middle, again from the Fill My Heart Stamp Set.


Whew! Were there any of the six ideas that stood out to you? Anything you'd like to try? I tried to make these ideas general enough to use with a different stitching/piercing plate if you have one. If not, the Infinity Punch and Pierce Plate is certainly a great choice!

Thanks so much for stopping by!
-Kelly

Supplies Used (I really appreciate your support!):

Infinity Punch Plate
Fill My Heart Sentiments

Thanks Glimmer Hot Foil and Die


Monday, April 24, 2023

Pinkfresh Studio April 2023 Stamp, Die, Stencil, and Hot Foil Release


Hi Friends! Oh boy, was I excited to see the April release from Pinkfresh!! As insanely beautiful as their floral sets are, most of the cards I send are for birthdays, and most of those birthdays are for men/boys. So when I saw all the new birthday sets, done in typical grand Pinkfresh fashion, I was absolutely stalking the mailman!

You may have come from Karin's beautiful blog, but if not feel free to start at the beginning with the Pinkfresh Studio blog.

There are lots of balloon stamp sets on the market, so what makes this a Pinkfresh balloon set? Oversized to cover the card? Yep. Coordinating stencils to easily color them? Yep! Adorable FLOWERS and streamers on the bottoms? Yep yep yep!! Ribbons Balloons is perfectly Pinkfresh!


Check out all the dimension with the die-cut streamers! To match waves of the streamers I choose the scallop panel underneath. 


Also love how closely cut the sentiment die is. Embossing the sentiment on vellum makes it appear as if it's floating and maximizes how much of the card below is visible. This comes in handy when layering it over the balloon strings that I didn't want to hide. 


The balloons are perfectly sized for a slimline card, but how do they look on an A2 card ...


Still a great size. 

Here's another die cut sentiment - love that it doesn't cover the pretty balloon colors. For the background panel I wanted to make it look a little more festive so I did a quick stitch around the edges with gold thread. 


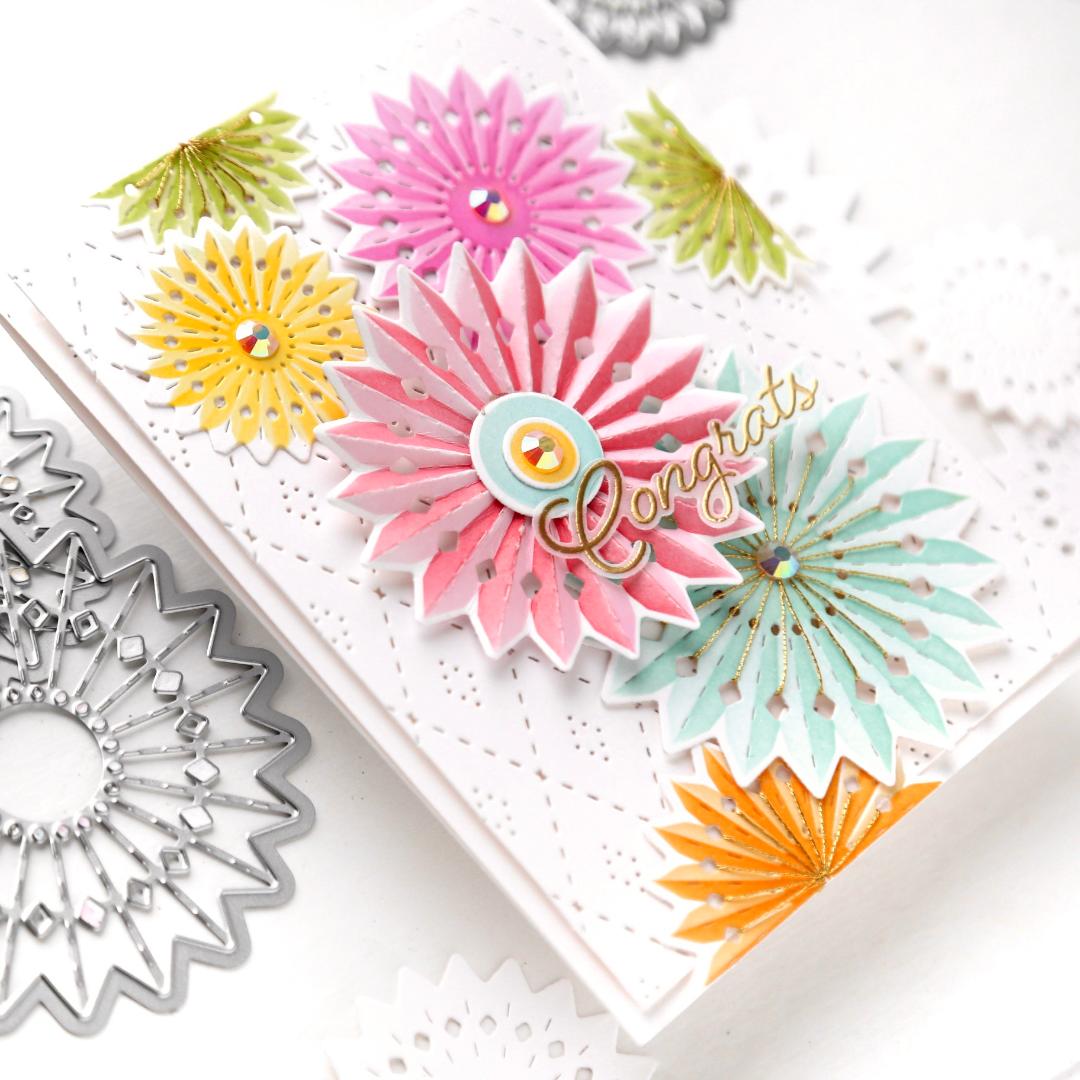
The card base is made from the stencil of another new set, the Rosettes, which is featured on the next card:

So festive! And I love that there are so many different ways you can use them. 


This card features 3 different ways to use these:
1) As intended (like the yellow and pink rosettes) with two different colors from the stencils, and die cut so you can layer them around your card;
2) Stitched (like the green, blue and orange rosettes with gold thread); and
3) Folded (like the red rosette) where I cut out the center and then was able to fold the rosettes back and forth along the dashed lines. 


These will be such great items to add in the background of birthday and celebratory cards. Just like my next card:


Don't you think the top bits of rosettes make the card a bit more festive? OK, and this cake from the Sweet Day Stamp! With the tiny banners! That are die cut!! Eeeep!


The layered stencils make coloring this cake a breeze. For the chocolate cake portion, I flicked brown watercolor while the stencil was still in place to make the crumbs. 


And it comes with a hot foil plate, which looks amazing, especially with all the icing detail. This will be one I use for many of my male birthday cards.


It really was a joy to work on these festive cards, and I can't wait to make more with different color combinations! 

PS, I did just a few days later ...


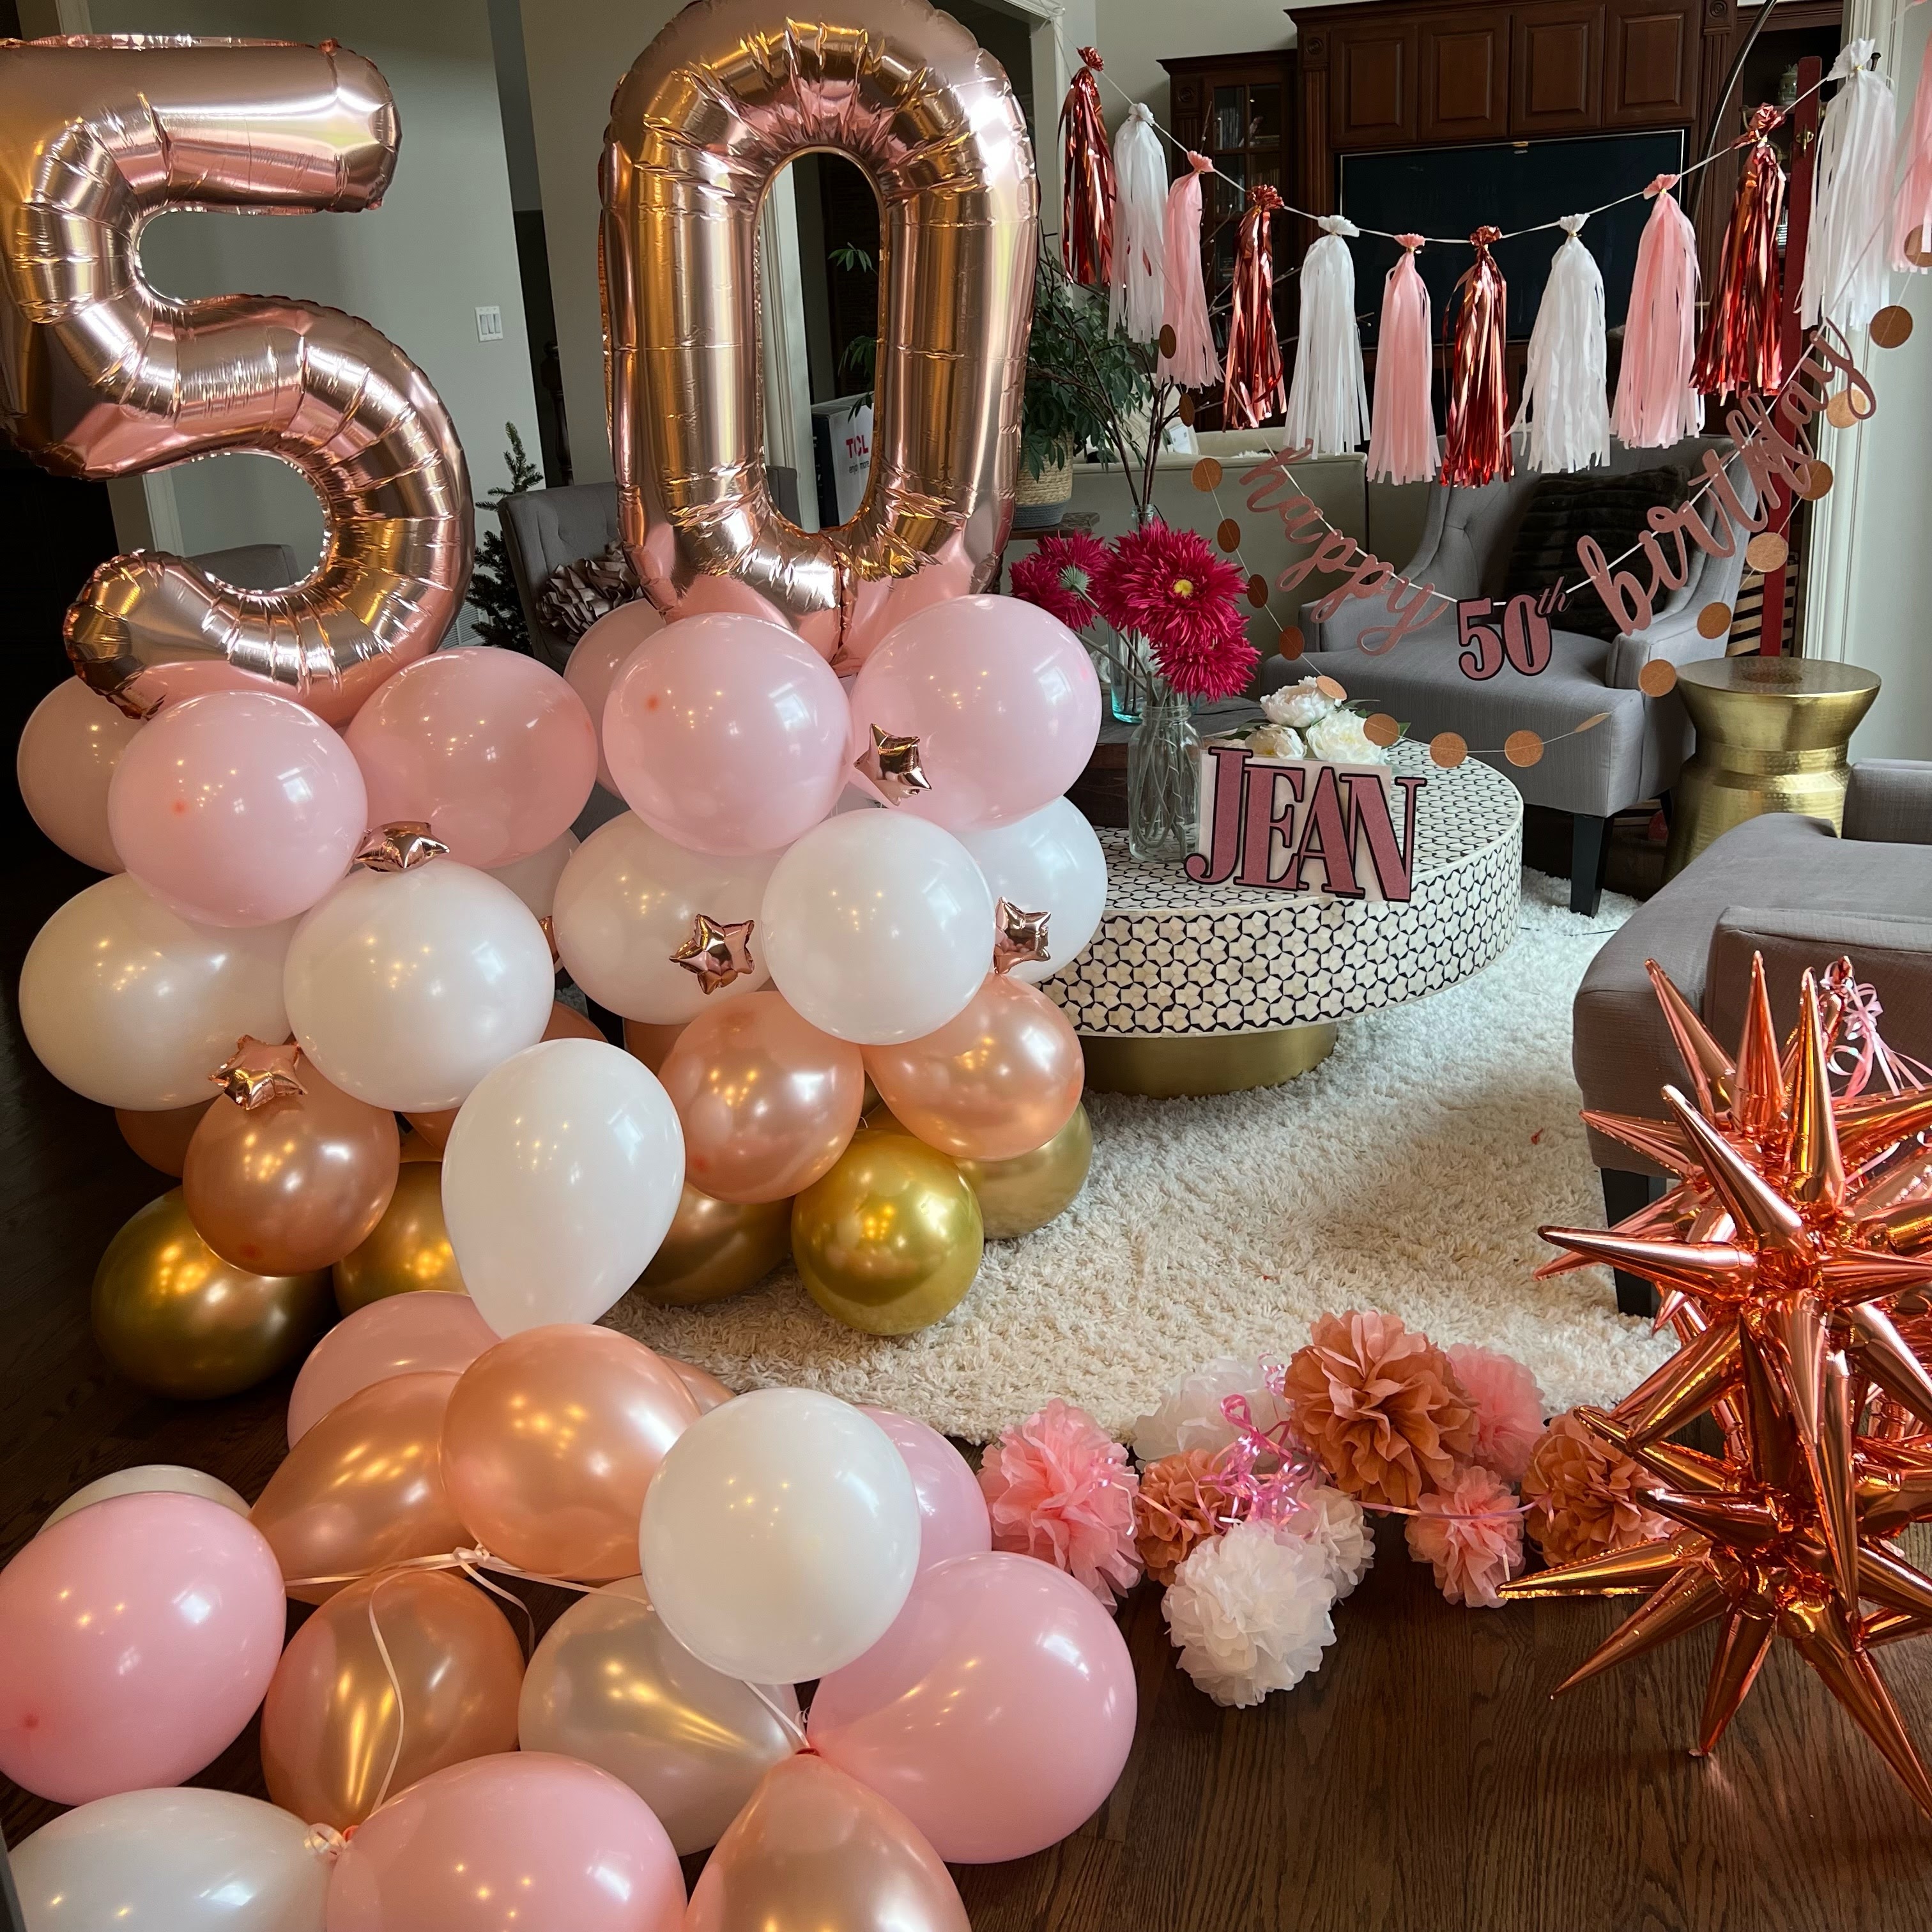
My friend's 50th birthday was this weekend, and naturally I had to make a feminine version of this card! 


I wanted it to match the rose gold and pink decorations I made for the big dinner her husband planned.  


My friend wasn't thrilled with turning 50, so I thought saying "50 Birthday Wishes" might sound better than "Happy 50th Birthday" lol

GIVEAWAY:

If you're the lucky one, you'll receive a giant box with the FULL RELEASE! 

Or there are also ten $25 gift cards to win! 

Winners will be picked from the comments on my blog and along the entire 

hop, and posted on May 3, 2023 on the Pinkfresh GIVEAWAY PAGE

You must check that page & claim your prize within 2 weeks. Good luck!

I'm sending you to the one and only Laura Bassen, who has wonderful things to share!

Here's the complete list if you need to hop somewhere else:

You are invited to the Inlinkz link party!

Click here to enter
Thanks so much for stopping by!
-Kelly

Supplies Used (thanks for your support!!):