Wednesday, July 13, 2016

CFS Release - 3 Uses for a 3D Sleigh


Hi Folks! Today's project is my favorite of all six days of the CAS-ual Fridays release ... a 3D sleigh! And, I'd like to share 3 different ways to use it.


Let's take a closer look at how to make it!


The sleigh from the CAS-ual Fridays' Sleighride set is stamped & embossed. Then I taped down the Sleigh Fri-Die so it would cut nicely around the edges of the stamped sleigh. The die set comes with a separate die for the body of the sleigh, which is really convenient for introducing a fun patterned paper. I inked slightly around the edges of the red patterned body. To make it 3D, I repeated everything for a second sleigh shape, and then cut a strip of the same patterned paper and folded it in a rectangle. Each sleigh is attached to the long side of the rectangle.


Here's an aerial view to show you how the rectangle is used to attach both sleigh shapes, and turn it into a 3D sleigh.

 
  Because it's just a rectangle holding the two sleighs together, and not something more substantial like a box with a bottom, it's able to fold flat for mailing. This "card" is still able to fit into a standard A2-sized envelope when it's folded flat like this.


Then when the card is opened, it's able to stand. You could really put anything in the sleigh ... a greeting, Santa, presents, pine cones, a tree. I opted to put a super-sized ornament, because, well, that's in this current release! : ) Whatever accessory you end up putting in your sleigh, you just need to mark where it hits the short sides of the rectangle, and then make slits in your accessory. It should then stand on its own.

Note the pattern on the rectangle strip is centered so that two of the flowered shapes were showing. They reminded me of headlights and taillights. Yes, I do think of these strangely detailed things when I'm in the craft room for too long!


The sentiment on the ornament is included in the Sleighride stamp set, as well as the holly and berries (colored with copics).


I liked how this one turned out so much that I started thinking of other ways to use it.


 An actual ornament! This is great because it's the exact same project as the card, so no extra effort required. Once your recipient has opened the card, they can stick it on their tree!


Another idea is to use the 3D sleigh for a place card. Just fill it with some Christmas trimmings (pine cone, berries, pine needle). The name is written on a strip of paper wrapped around a toothpick colored black with a Copic marker. 


They take so little time to make that it's a perfect project to make for the whole table. You could vary the patterned paper used for the body, perhaps with Christmas papers from the same set. Another nice feature is that they all fold flat, so they can easily be stored in a drawer for next year's festivities. As long as your guests don't want to take them home, that is : )
 
 
Check out the rest of the Ink Squad to see more awesome projects with these stamps. Only two more days of projects left for this release!
 
Thanks for looking!
-Kelly

Tuesday, July 12, 2016

CFS Release - Partridge in a Pear Tree Shaker


Hi Folks! Time for a shaker! Someone is up to no good, trying to shake all the pears off the tree. So many have fallen to the ground. And, poor partridge getting caught in all this craziness!! Hahaha
 

The shaker window is cut from two layers of fun foam with the CAS-ual Fridays Tag Ornament Fri-die (yellow fun foam so it would coordinate with the pears). I colored the pear tree with copics, fussy cut a gold glitter partridge, and embossed the sentiment from the Partridge in a Pear Tree set in white.


Several pears were fussy cut from another tree that I stamped on scrap paper, and those became the shaker ingredients, along with some chunky glitter. I have to admit, it was fun to shake the pears all over! I don't often make shakers, but I enjoyed making this one because it had somewhat of a story to tell.
 
 
Check out the rest of the Ink Squad to see more awesome projects with these stamps.
Thanks for looking, and come back tomorrow ... it's my favorite project (card with a bonus) from this release!
-Kelly

Monday, July 11, 2016

CFS Release - Tag Ornament Die

Hi folks! Welcome back to another Christmas in July post! We're on day #2 of CAS-ual Fridays' new release.


This card uses the new Tag Ornament Fri-Dies. Eeek, I love that thin, scrolly ornament hanger die!! I used silver metallic paper to mimic the real thing. One of my left over Funky Flakes from yesterday's card is just the thing to adorn the ornament with. Quick and easy!
  
 
Here's a better view of the sparkle from the glitter paper. It's almost enough to make me anxious for the holidays! The ornament is popped up slightly in the middle so the paper curls inward around the edges for some dimension.
  
 
Check out the rest of the Ink Squad to see more awesome projects with these stamps.
Thanks for looking, and hope to see you tomorrow!
-Kelly

Sunday, July 10, 2016

CFS Release - Snowy Sayings


Hi Folks! It's going to look a little like "Christmas in July" on the blog this week, as we're featuring the newest stamp and die releases from CAS-ual Fridays! Today's card uses the Funky Flakes Fri-Dies.
 

These are so fun to layer, and quick to make one-of-a-kind snowflakes. With 6 different dies in the set, the different combinations are numerous. These flakes are cut from white, silver and light blue cardstock. For the center of two of them I used the small hole from the circle snowflakes.
 

Since I used wire to hang the flakes, it was easy to thread a few long beads and seed beads before attaching them to the card. The beads add a little more sparkle. The sentiment is from Snowy Sayings, and the thin border on the bottom is from an upcoming set.
   
 
Check out the rest of the Ink Squad all week to see more awesome projects with these stamps.
  
Thanks for looking, and see you tomorrow!
-Kelly

Wednesday, July 6, 2016

w&w New Dies for Existing Stamp Sets!


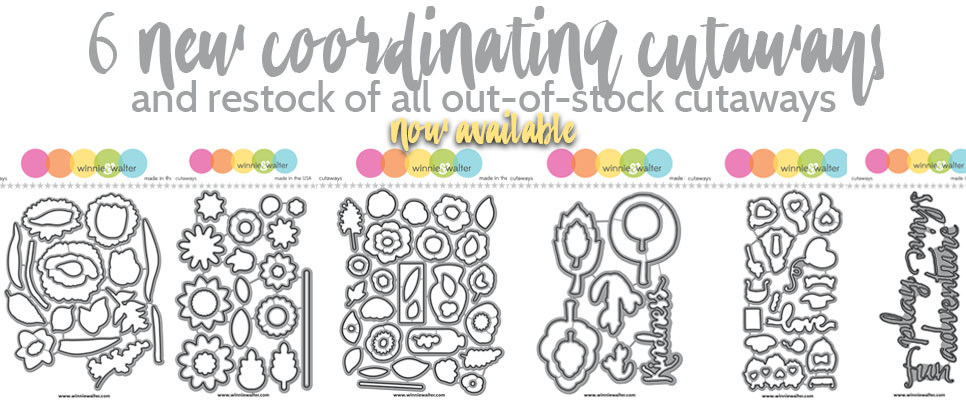
Hi Folks! Great news, Winnie & Walter now has coordinating dies for 6 existing stamp sets! I love using dies for cards like this, where you have several flowers that you want to make a bouquet with, and you can line up all your dies on a single piece of paper and have them all cut out in one pass of the die cutter. Hello efficiency! For this card I used the In Bloom: Addie's Garden Cutaways to make the bouquet.
 
web_banner_now_available


The flowers are colored loosely with copic markers.  The sentiment on this card is In a Word: Hugs cut from metallic paper, and "on your day" from Sparkle
    

 This is a card meant to be delivered in person instead of put in the mail, as you can see the different layers of each flower. A few clear sequins finishes it off. Nothing fancy needed, just a bouquet of pretty flowers.

 Be sure to check out the Winnie & Walter blog today, tomorrow and yesterday for inspiration and give-a-ways, featuring projects made with the other die sets! There are THREE $50 gift certificates up for grabs just by leaving a comment on the w&w blog posts. So easy to enter!

Thanks for looking!
-Kelly

Monday, July 4, 2016

w&w Rerun: Sparkle


Sparkle
 
Hi Folks! It's time for another Rerun feature on the Winnie & Walter blog, where we spotlight a previously released stamp or die set. This month the focus is on the Sparkle set, which is great for patriotic cards, or also just plain happy occasions. I love the tiny little stars that you can add throughout your design. It's also nice that the sparkler comes in three different pieces (stem, burst, and ring of stars) so you can easily add a ton of different colors.

The design is stamped on a scalloped panel from Essentials: Noelle Cutaways and masked/inked on the edges. The striped paper is actually glitter paper to give the card some actual sparkle (in addition to the sequined centers of the sparklers). Finally, I added the looped lines from Goldie Trim Cutaways to finish off the card. 
 
 Winnie & Walter, LLC

Thanks for looking, and a big "Happy 4th of July" to all my American friends!!
-Kelly

Friday, July 1, 2016

When I'm Compelled to Use a MISTI


Hi Folks! Today's card is a great illustration of when I use a MISTI (most incredible stamping tool invented). Although it usually takes me hours to make a card (including all the time thinking about what to do), I'm generally a pretty lazy crafter. If there is a short cut to do something I will take it. So often the thought of bending down to get my MISTI, making room on my table for it to open all the way, positioning the card/stamp, etc. prevents me from using it. But there are a few times, like with this card, where I will happily invest those extra few minutes to avoid certain disaster.

Can you tell what prompted me to use a MISTI for this card?

Masking!!


It annoys me to no end that despite how hard I press down on a stamp, if I'm masking a large area there will be sections near the mask where the ink does not transfer. The area below the "h" is a great example here. So much white space remaining. 

Before owning a MISTI I would have either tried again, or tried to fake it by filling in the area with a very fine-tipped black pen. That usually results in lines that just look "off" and also takes quite awhile.


With the MISTI, I can stamp the sentiment as many times as I like to better fill in that area. You can also see that the sentiment is much darker and crisper now. So worth the extra few minutes!
  

Here's a closer view. You can see I slightly overlapped the flower masking just in case there were any areas where the sentiment didn't stamp (old habit!)

What situations do you pull out your MISTI for?
 
  
This card is over at the CAS-ual Fridays Stamps blog today if you'd like additional information. Feel free to use my code "KELLY2016" which will save you 15% off any purchases at CAS-ual Fridays Stamps.

Thanks for looking!
-Kelly