This month's Papertrey challenge is to take a project you made last year and use it for inspiration on a current project. I need to make 15 cards for a card exchange this weekend so this gives me the direction I need.
I've been meaning to do another pop-up card like the Christmas cards I did.
So I came up with a pop-up flower card.
It's pretty quick to make once you have the measurements. Start with a 4" x 11" paper for the base (double sided paper is great since you will see the inside). Score at the following increments: 1", 2 3/4", 3 3/4", 7 1/4", 8 1/4", 10".
When you fold them all in the same direction you will have a base that looks like a "B" from the side.
Unfold the paper and make another score at 5 1/2". Bear with me, there are a lot of steps here, but it is easy. Cut a 2 1/2" slit in the middle of this score line, and cut another slit super close to that one to make a slot for the clear acetate piece to pop out of the base. It should be 1/8" to 1/16" wide. You want it pretty snug to hold the acetate up.
Cut two pieces of clear acetate that are 2 1/4" wide and however tall you want. One piece should be 1" shorter. Slip the longer acetate piece through the slot, and using the Tiny Attacher or regular stapler, staple the long piece to the 1" segment at the end of the base. You can use adhesive to attach the two end pieces of the base together.
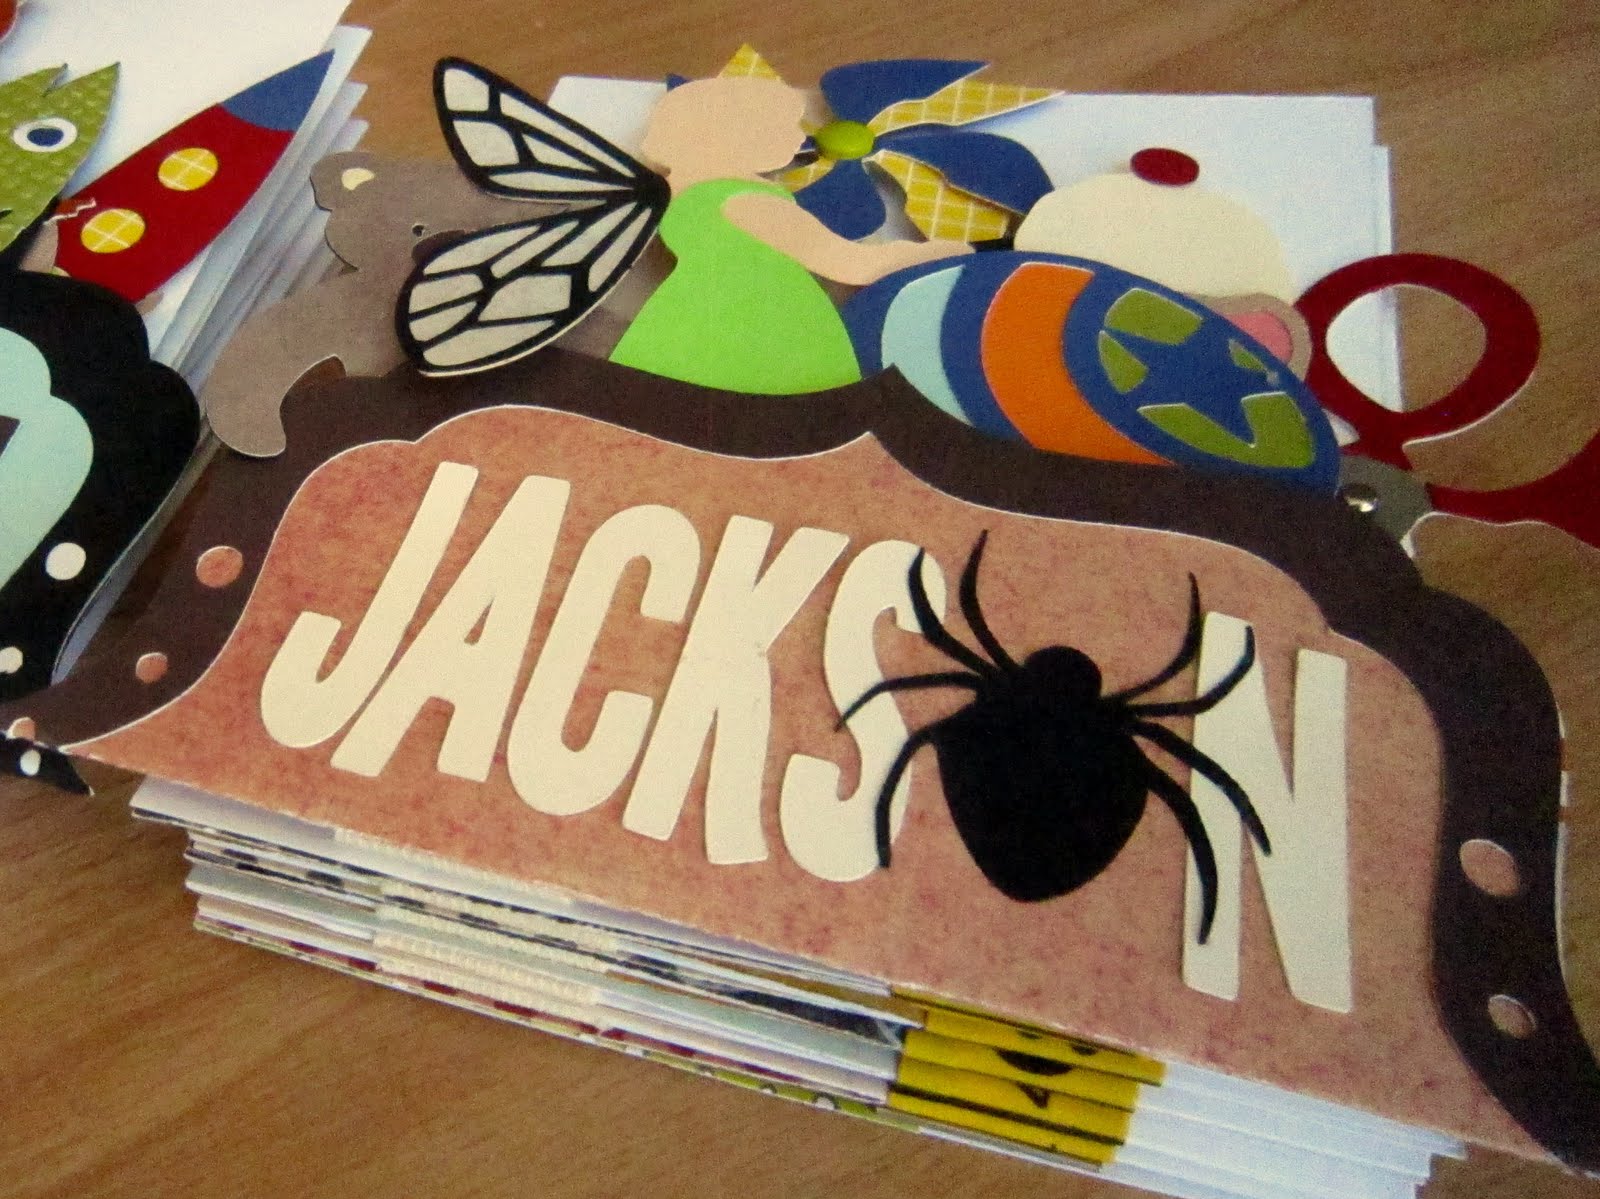
I used Papertrey's Wonderful Words die to cut the words.
Love how the long loops of the letters (like the "f") look like leaves when oriented vertically. Use a little glue to attach the word to the acetate. Place the other piece of acetate that is 1" shorter on top.
The bottom of the acetate will just be resting on top of the base. This is important because it will essentially act as a ceiling and hold the base down nice and square when the card is open.
I attached the two pieces of acetate with the Tiny Attacher at the top, so it will not show behind the flower. Next time I will attach the flower using the brad instead of the adhesive since it shows through.
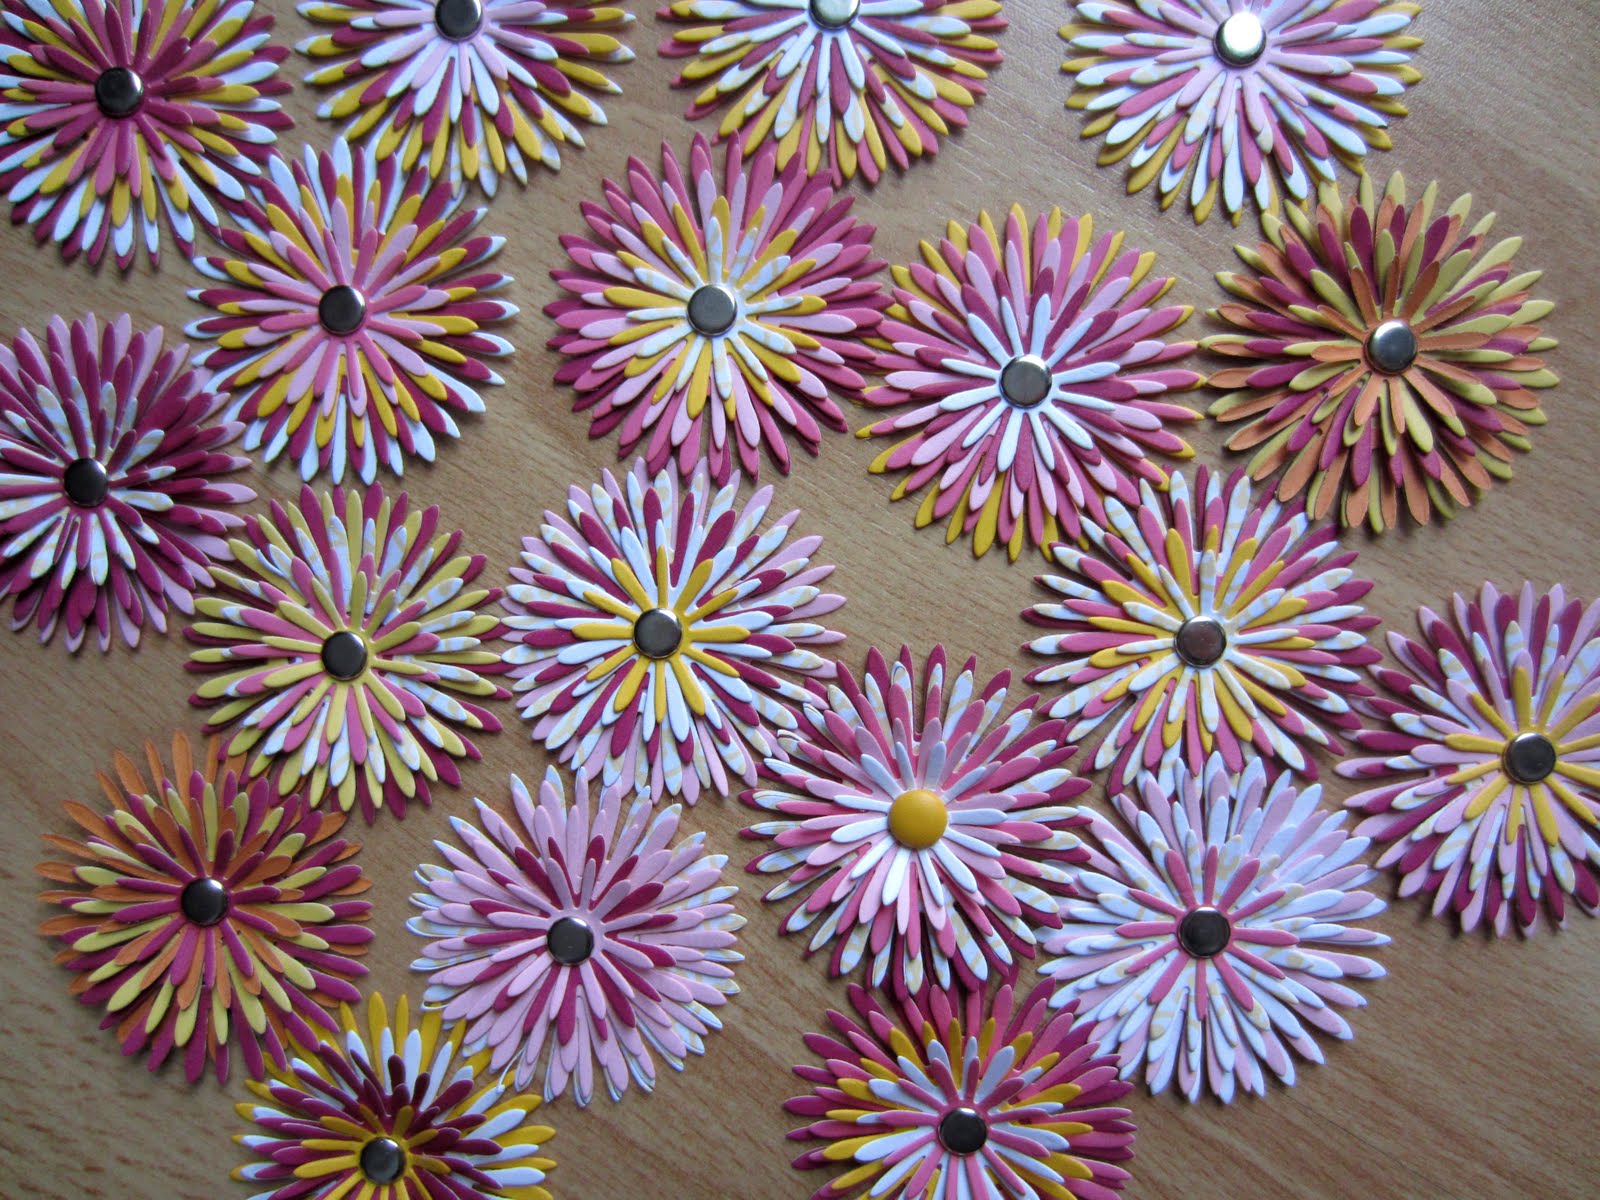
Cut flower shapes out of many colored papers. Love the Bloom Builders #3 die!
Combine the colors and just stack 'em up to get an awesome flower. So quick and simple. Use a brad to hold them all together. I bend the petals up slightly on the layers to make it more dimensional.
Attach the flower over your staples at the top of the acetate so it just overlaps the word. Cut out and attach the rest of your sentiment. Initially I used the Papertrey Double-Ended Banner die, but I needed it a little longer so I just cut a 1/2" strip of paper and notched the ends with the corner of a square punch.
My favorite part is collapsing the card after you're done. Amazingly it folds nice and flat. Perfect for fitting into an envelop. Then to re-open it you just pull the acetate. With the word being vertical I like how it is revealed as you pull it open. Then the rest of the sentiment is on the base.
OK, now I'm off to make 13 more! They do go quickly. You can get 3 bases from a 12x12 paper, so I make the score marks first, and then cut the sheet into thirds. Saves a couple steps! Oh, one other tip. I saved the clear packaging from some candles I bought at Costco. It's nice and thick. This is what I used for the card. It's large so I'll probably get 7-8 from one package. Paper is American Crafts bought in bulk from Tuesday Morning.
Please let me know if you have any questions. I'd be happy to try and help!